How to Paint a Ceiling?
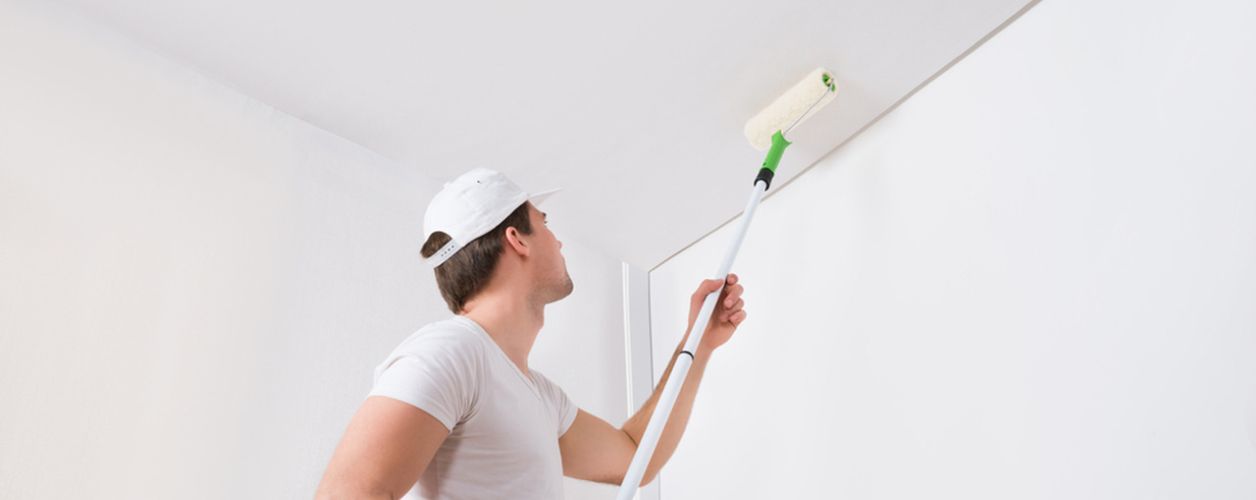
Table Of Content
- Introduction
- Steps To Paint A Ceiling
- Preparation
- Cutting In
- Roll Out The Whole Ceiling
- Maintain a Wet Edge And Apply Other Coats
- Flawless Finish
- Some Tips To Perform Like Professional Painters
- Do You Require Professional Painters For Ceiling Painting?
How To Prepare a Ceiling For Painting - Step-by-Step Guide
Painting the ceilings, roofs, exteriors, walls and interiors makes them attractive, airy, and open. They look more airy and give a look of expansion to that area. It impacts the total look of a room. White or light-coloured ceilings help to maintain a fresh and open look. The bold ceilings make them look cosy and focused. Choosing the right texture or colour for the ceiling makes it functional for a specific room. So it is important to know how to paint the ceiling for satisfactory results. You may want to finish this job like ceiling painters. Let us know the step-by-step procedure to paint a ceiling. Additionally, you can learn the cleanliness, finishing, and maintenance of a ceiling.
Let’s Look At The Steps To Paint A Ceiling
Are you ready to paint like a ceiling painter? You can follow these steps for a flawless finish.
Step 1 - Preparation
Before painting a ceiling it is mandatory to prepare the ceiling for painting. To prepare the ceiling, firstly you have to gather the following materials used by ceiling painters:
- Ceiling paint
- Paint tray
- Painter's tape
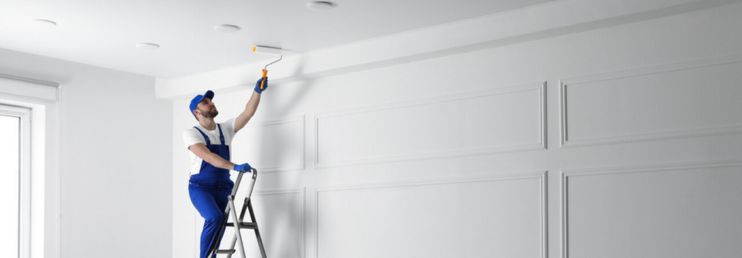
- Ladder
- Paint roller
- Angled brush
- Primer
- Drop cloths
- Sandpaper
- Spackling compound
- Putty knife
- Safety goggles
- Dust mask
- Paint roller naps of different sizes
Secondly, you need to clear the space in the room. You can follow these tips.
- Remove the furniture, gadgets, apparatuses, and decor from the room.
- Cover the remaining items and floor with the help of a drop cloth.
Clean Or Dust Off The Ceiling
Remove all dust and spider webs through dusting. If the dirt is rigid, you can use a brush to get rid of it. You can use the brush for the kitchen and bathroom ceilings to clean the oil residues or grease. If you notice damp patches or stains, it’s important to remove mould before painting ceilings to prevent future paint damage.
Fix The Damages Of Ceiling
Check the holes, cracks, or dents in the ceiling. Fill all the imperfections with putty and make a clean surface with the help of a putty knife. Let it dry and use sandpaper to smooth the surface. Dust out the remaining dust in the ceiling. Always wear a mask to avoid the inhalation of any dust particles.
Set The Ceiling With Prime
If your ceiling has some stains, or you want to change the colour of your ceiling, you need to apply the primer. Primer helps the paint to settle down perfectly and gives a smooth surface. If your wall has never been painted before, always do the priming to your ceiling. In some cases, especially on new plaster, applying a mist coat before painting improves adhesion and ensures an even finish. Use a roller to evenly distribute the primer throughout your ceiling and let it dry for some time.
Step 2 - Cutting In
Cutting in refers to painting the edges of the ceiling where it meets the walls. This step ensures a clean and professional-looking finish.
Tape The Edges Of The Ceiling
You need to mask off the edges of the ceiling where the ceiling meets the wall using painter’s tape. Fix the tape correctly with your fingers. Tapping the edges will prevent the paint from dropping out to the walls.
Brush The Borders Of The Ceiling
Dip the angled brush into the paint and remove the excess paint by tapping off the brush. Create a border along the edges of the ceiling.
Step 3 - Roll Out The Whole Ceiling
After painting the edges, you should paint the whole ceiling with a roller. You paint the first coat of the ceiling. After that, apply the second coat.
Load The Roller With Paint
Pour some paint into the paint tray. Attach the roller cover to the frame. After attaching, roll your roller inside the tray and fill the roller. Remove the excess paint from the roller by tapping it into the tray.
Join The Extension Pole
You need to attach the extension pole to reach the ceiling comfortably. You can adjust the height of the extension according to your convenience. This extension tool will maintain the pressure and a right angle to paint the ceiling.
Apply Paint To The Ceiling
Start to paint from one corner of the ceiling. Use the shaped patterns to maintain smooth coverage. In a W-shaped pattern, you can move the roller diagonally from the corner you have selected to paint first. And make a W-shaped pattern. In an M-shaped pattern, you can move the roller in an upward diagonal stroke. And move back the roller to make an M-shape pattern. After making the patterns, fill the leftover space by moving the roller in parallel directions.
Step 4 - Maintain a Wet Edge And Apply Other Coats
Do not let the patterns you made dry. Before it dried, apply the paint throughout the patterns.
Continue The Pattern
Try to maintain a wet edge to avoid marks of uneven paint. Work quickly so that the paint you are applying should overlap with the paint you applied before without any dryness. It will result in a smooth texture.
Apply Other Coats
Do the second coat with the same pattern you used for the first coating. If there are some stains visible in the ceiling and the covering is not fully done after the second coating, you can do the third coat only where there is a need to do that.
Step 5 - Flawless Finish
After painting, there are a few final steps to ensure a flawless and professional-looking ceiling.
Remove The Painter’s Tape
Check if the paint you applied is dry or not. If the paint is dry completely, remove the painter’s tape carefully.
Give A Final Touch Up
Inspect if you have made any imperfections. If there is any, take a small brush and give a final touch to them.
Wrap Up
Clean all the tools you used like your brush, roller, putty knife, paint tray, etc. Dispose the all nonusable items in the dustbin.
You may want to check the cost to paint exterior and interior of houses, or an entire house to budget for your different painting needs.

Some Tips To Perform Like Professional Painters
- Select the right paint according to your needs. If there is a need to hide imperfections, choose a matte finish paint.
- Always work in a natural light. Natural light helps to see the small spots and uneven coverage.
- For textured ceilings, use a roller cover with a thicker nap. This will help you achieve even coverage without damaging the texture.
- Use a paint sprayer if the texture is extremely fine or complex.
- Take your time to ensure each step is completed carefully and thoroughly. Rushing through the painting process can lead to mistakes and a subpar finish.
Do You Require Professional Painters For Ceiling Painting?
Ceiling painting can be challenging due to the awkward angles, the risk of drips, and the need for a smooth, even finish. You can consider hiring interior painters for the expertise, tools, and techniques to handle these challenges efficiently. They can ensure a high-quality, streak-free result while also taking care of prep work, such as patching holes or cracks and protecting your furnishings and floors. Additionally, hiring ceiling painters can save you time and effort, making it a worthwhile investment for many homeowners. However, if you are ready to accept these challenges and you are confident about your safety, you can paint your ceiling yourself.


YOU MIGHT ALSO BE INTERESTED IN