How to Fix Emulsion Paint Bubbling on Wall
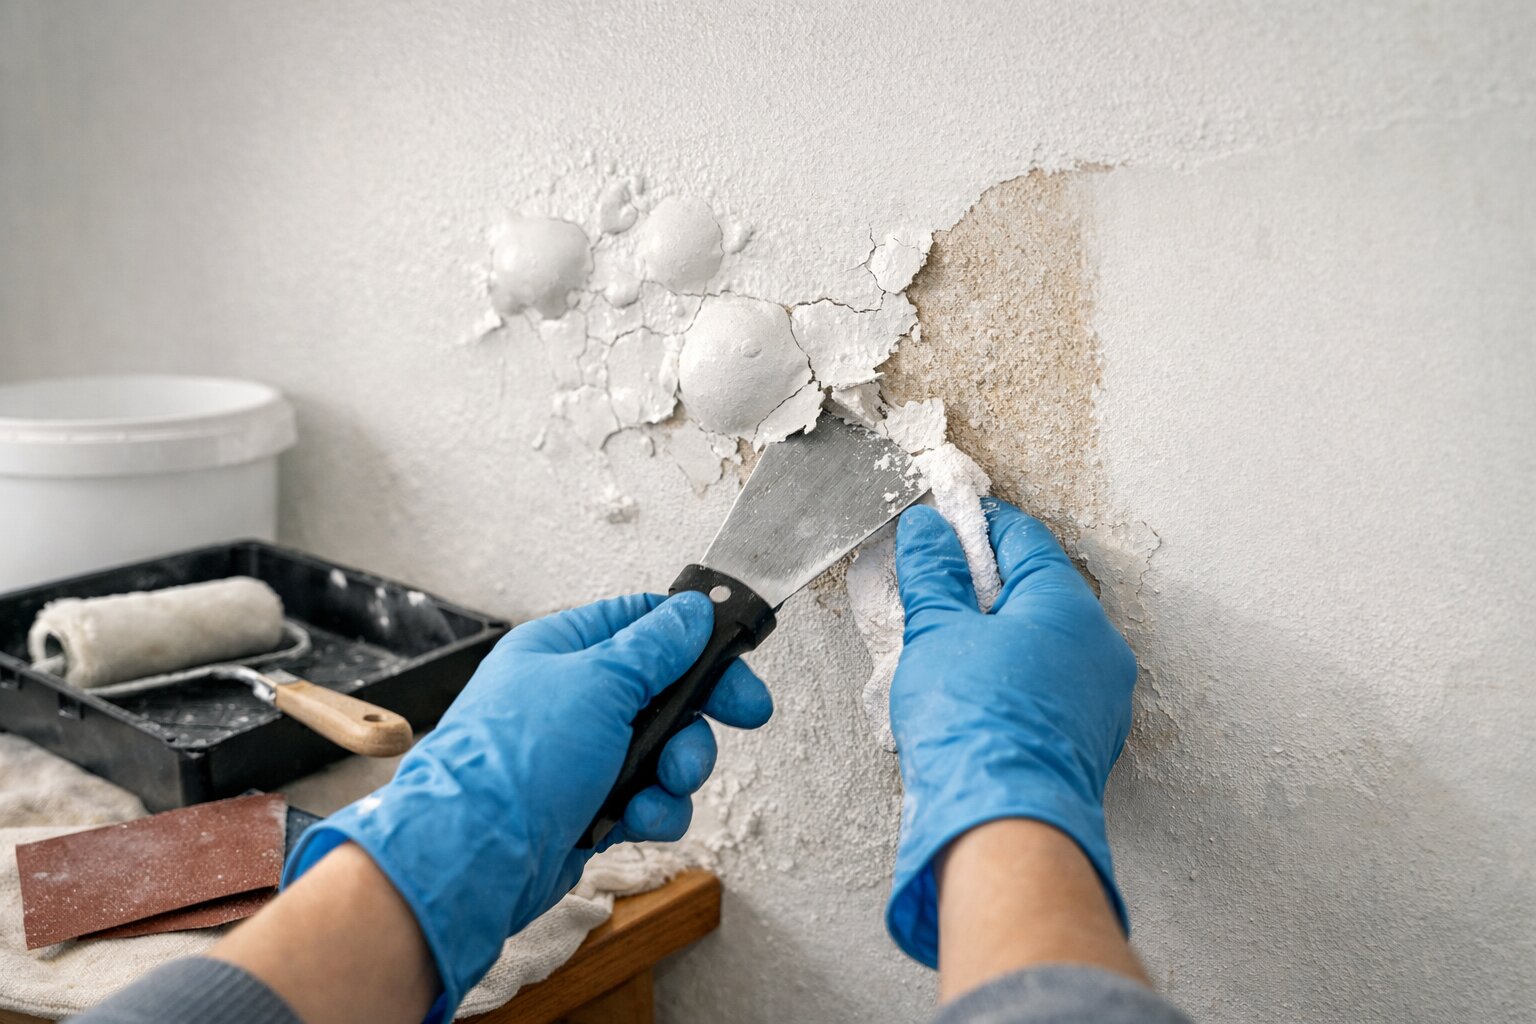
Table Of Content
- Introduction
- Why Is My Emulsion Paint Bubbling?
- What Causes Paint Bubbles on Walls?
- How to Fix Emulsion Paint Bubbling on Wall (Step-by-Step)
- How to Stop Paint Bubbling from Coming Back
- Common Mistakes to Avoid
- When to Call a Professional Painter
- Final Thoughts
To fix emulsion paint bubbling on a wall, first identify whether the issue is caused by moisture, poor surface preparation, or trapped air. Scrape away all loose paint, sand the edges smooth, clean the wall thoroughly, apply a suitable primer, and repaint in thin even coats once the wall is fully dry.
There are few things more frustrating than stepping back to admire a freshly painted room, only to watch unsightly blisters and bubbles form on the surface. Whether you are dealing with a fresh coat of paint that has suddenly reacted poorly, or older paint that has begun to lift and peel, paint blistering ruins the smooth wall finish you worked so hard to achieve. Fortunately, with the right wall repaint preparation, this is a completely solvable DIY issue.
Why Is My Emulsion Paint Bubbling?
When you notice wall paint bubbles, you are witnessing a loss of adhesion. Essentially, the paint film has lifted away from the underlying surface, and the resulting void has filled with either air or moisture. This creates a blister-like texture that not only looks terrible but will eventually lead to cracked and peeling emulsion paint.
While it might be tempting to just press the bubbles down or paint over them, understanding why the adhesion failed is the first step in any successful bubbling wall paint repair.
Here are the most common causes for emulsion paint bubbling:
- Moisture in the wall: Water pushing its way out from behind the plaster.
- Damp patches: Localised areas of humidity or condensation.
- Poor ventilation: Rooms that trap steam and heat, preventing paint from curing.
- Painting over dust: Leaving sanding dust on the wall creates a barrier between the paint and the plaster.
- No primer: Skipping the sealing stage on bare walls.
- Painting over old gloss: Applying water-based emulsion over oil-based gloss without sanding.
- Applying thick coats: Slapping the paint on too heavily traps wet paint underneath a dry outer shell.
- Roller overloading: Pushing too much paint into the roller sleeve traps air bubbles in the paint film.
- Painting before the previous coat dries: Rushing the job prevents the first coat from fully curing.
What Causes Paint Bubbles on Walls?
To effectively fix emulsion paint bubbling on a wall, you must dive deeper into the root environmental and structural causes. Paint does not bubble without a trigger. Let’s explore the three main culprits behind a ruined paint job.
Moisture or Damp Walls
Moisture is the undisputed number one cause of paint blistering. When water infiltrates a wall, it eventually tries to evaporate. As the moisture vapour pushes outward, it hits the impermeable (or semi-permeable) barrier of your emulsion paint, physically pushing the paint film off the plaster.
This damp wall paint repair scenario usually stems from:
- Roof leaks: Water trickling down into wall cavities.
- Plumbing leaks: Pinprick holes in pipes behind the drywall or under floorboards above the ceiling.
- Bathroom steam: Heavy condensation from hot showers sitting on the walls because of a broken or missing exhaust fan.
- Condensation: Cold exterior walls clashing with warm interior heating, causing water droplets to form on the paint surface.
- Rising damp: Groundwater wicking up through the masonry due to a failed damp-proof course.
Poor Surface Preparation
Even the highest quality, most expensive emulsion paint will fail if the wall beneath it is dirty. Paint is designed to bond to clean, stable surfaces. If there is an intermediary layer of grime, the paint bonds to the grime instead of the wall.
Common surface prep failures include:
- Dust left after sanding: If you filled holes and sanded them smooth but forgot to wipe the wall down, the paint will adhere to the loose dust and peel away.
- Grease: Kitchen walls covered in cooking oils repel water-based emulsion paints.
- Old wallpaper paste: Residual adhesive activates when touched by wet paint, causing chemical reactions and bubbling.
- Flaky old paint: Painting over already-failing paint just adds weight, pulling both layers off the wall.
Painting Over Unsealed Plaster
New plaster is incredibly porous—it acts like a giant sponge. A very common reason for emulsion bubbling is applying a thick topcoat directly to bare, unsealed plaster.
When you do this, the dry plaster rapidly sucks the water out of the emulsion paint. The paint dries too quickly and unevenly, preventing the binders from properly adhering to the wall. This is why a mist coat for plaster or a dedicated paint primer for walls is absolutely essential. The lack of a mist coat almost guarantees that the paint will lift in large, rubbery sheets or form pockets of trapped air bubbles.
How to Fix Emulsion Paint Bubbling on Wall (Step-by-Step)
Once you understand why your paint has failed, it is time to roll up your sleeves and begin the repair. Follow these seven steps exactly to ensure a smooth wall finish that will not bubble up again.
Step 1 — Find the Cause First
Before you pick up a scraper or open a new tin of paint, you must play detective. If the bubbling is caused by a damp issue, fixing only the paint will not solve the problem. The blisters will simply return in a few weeks.
Take time to inspect the area:
- Check for leaks: Look directly above the bubbling area. Is there a radiator pipe, a bathroom, or a roof valley?
- Look for a damp smell: Press your nose near the wall. A musty, earthy scent strongly indicates structural moisture.
- Check near windows and ceilings: These are prime locations for condensation and black mould to gather.
If the wall is wet to the touch, you must fix the leak or improve the ventilation before proceeding to step two.
Step 2 — Scrape Off All Loose Paint
Once the underlying issue is resolved and the wall is dry, you need to remove the damaged paint.
Take a metal scraper or a flexible putty knife and gently push it beneath the blisters.
- Remove all bubbles: Do not be gentle here. You must pop and scrape away every blister.
- Remove peeling sections: Keep scraping until the paint stops lifting easily. You need to get back to a solid, stable edge where the paint is firmly bonded to the wall.
- Scrape until the surface feels firm: If half the wall is peeling, it all needs to come off. Never leave loose edges, as they will compromise your new coat of paint.
Step 3 — Sand the Surface Smooth
After scraping, you will be left with a crater where the old paint used to be. If you paint directly over this, the outline of the blister will be highly visible.
Take a piece of medium-grit sandpaper (around 120-grit) and carefully sand the area.
- Feather the edges: This is a professional decorating technique where you heavily sand the harsh edge of the old paint so it gradually slopes down to the bare wall.
- Smooth the repair zone: Run your hand over the area. You should not be able to feel a distinct ridge or step between the bare plaster and the intact paint.
- Remove rough ridges: Sand away any stubborn flakes that the scraper missed.
Step 4 — Clean the Wall Properly
This is the most critical part of wall repaint preparation. Sanding creates a tremendous amount of fine dust, and as we established earlier, dust causes bubbling.
- Wipe dust: Use a dry microfibre cloth or a vacuum with a brush attachment to remove the bulk of the sanding dust.
- Sugar soap: Wash the entire wall down with a diluted sugar soap solution. This will cut through any airborne grease, lingering wallpaper paste, or stubborn grime.
- Damp cloth: Go over the wall one more time with a clean, damp cloth to remove the sugar soap residue.
- Let dry fully: Wait until the wall is 100% dry. Do not rush this.
Step 5 — Fill Any Dents or Damage
Sometimes scraping away the paint reveals gouges, dents, or imperfections in the plaster itself.
- Use wall filler: Apply a high-quality, lightweight interior wall filler using your putty knife. Press it firmly into the dents and smooth it out.
- Allow drying time: Check the manufacturer's instructions. Some fillers dry in an hour, while deeper fills may take overnight.
- Sand lightly again: Once dry, take fine-grit sandpaper (180-grit to 220-grit) and sand the filler perfectly flush with the wall. Wipe away the dust again.
Step 6 — Apply Primer or Mist Coat
Do not apply your topcoat emulsion directly to the bare patches you just created. The bare plaster and the dried filler are highly porous and will suck the moisture from your topcoat, starting the bubbling cycle all over again.
- Wall primer: Use a dedicated interior acrylic primer or a multi-surface sealer over the repaired areas.
- Mist coat for plaster: Alternatively, if you are dealing with large patches of bare plaster, mix up a mist coat. This is simply your standard emulsion paint watered down (usually 70% paint to 30% water). The water allows the paint to soak deep into the plaster and seal it without drying too fast.
Allow the primer or mist coat to dry completely.
Step 7 — Repaint with Thin Coats
You are finally ready to apply your colour. The secret to a perfect, bubble-free finish is patience and technique.
- Use emulsion paint: Ensure the paint is thoroughly stirred so the binders and pigments are perfectly mixed.
- Two thin coats: Always apply two thin coats rather than one thick, heavy coat. Thick coats trap air and moisture.
- Allow drying between coats: Wait the full recommended time on the tin (usually 2 to 4 hours) before applying the second coat.
- Avoid overloading the roller: Dip the roller lightly and use the textured part of your paint tray to roll out the excess. Slapping a dripping wet roller onto the wall will introduce air bubbles into the paint film.
How to Stop Paint Bubbling from Coming Back
Fixing the problem is highly satisfying, but preventing it from ever returning is the ultimate goal. A few simple changes to your home maintenance and DIY habits will keep your walls looking pristine.
- Fix the moisture source: Never ignore a dripping gutter, a blocked drain, or a leaking radiator valve. Water will always find its way into your walls.
- Use an exhaust fan: In bathrooms and kitchens, always run the extractor fan while cooking or bathing, and leave it on for 20 minutes afterwards to clear residual humidity.
- Use a primer: Make it a strict rule to never paint over bare plaster, wood, or filler without using a dedicated sealer or primer first.
- Avoid thick coats: Resist the urge to finish the job quickly by piling on the paint. Thin, even layers dry stronger and bond better.
- Allow drying time: Respect the recoat times on your paint tins. Painting over a tacky, half-dry wall traps moisture beneath the new layer.
- Use a quality roller: Cheap, fluffy roller sleeves trap air and push it onto the wall. Invest in a high-quality medium-pile microfibre roller for a flawless smooth wall finish.
Common Mistakes to Avoid
When tackling a paint blistering fix, avoid these common DIY errors that will ruin your hard work:
- Painting over a damp wall: This guarantees immediate failure. The wall must be bone dry.
- Skipping primer: Bare filler and plaster will always reject raw emulsion paint.
- Thick roller coats: Pushing too much paint onto the wall creates a thick skin that traps wet paint underneath.
- Poor ventilation: Painting in a sealed room prevents the paint from curing properly. Always crack a window.
- Painting too soon: Recoating before the previous layer is dry causes the bottom layer to re-wet and pull away from the wall.
- No sanding: Skipping the sanding stage leaves harsh, visible lines where the old blister used to be.
When to Call a Professional Painter
While repairing bubbled paint is generally a straightforward DIY task, there are times when it is best to put the roller down and call in an expert.
You should consider hiring a professional painter or tradesperson if:
- You experience recurring bubbles: If you have scraped and repainted the same patch three times and it keeps blistering, there is a hidden issue you are missing.
- There are large damp patches: If the wall feels cold, wet, or crumbly, you likely need a damp-proofing specialist to inject a new damp-proof course or fix structural masonry.
- You have ceiling leaks: Water bubbling through ceiling paint often points to serious plumbing or roofing failures that require a plumber or roofer before a decorator can start.
- Mould issues are present: Widespread black mould accompanying the bubbling paint requires professional remediation to protect your respiratory health.
- Structural moisture: If the plaster itself is spongy and falling apart behind the paint, the wall will need to be professionally re-boarded and skimmed.
Final Thoughts
Bubbling emulsion paint is usually caused by moisture or poor preparation. Once the root cause is fixed, proper scraping, sanding, priming, and repainting can restore a smooth finish that lasts.
Do not let wall paint bubbles discourage you from decorating your home. By taking the time to properly diagnose the issue, thoroughly prepping the surface, and applying your paint with care, you can eliminate blisters for good. Remember: the secret to a professional-looking paint job is always in the preparation.


Answers to Your Common Questions
Usually, this happens because of trapped moisture, dust on the wall before painting, or applying the paint too thickly. As the paint tries to fully cure, the trapped air or water vapour pushes outward, separating the paint film from the wall.
No, it should always be scraped and repaired first. If you paint over an existing blister, the new wet paint will simply add weight to the failing area, causing the old bubble to swell further and eventually peel off entirely.
Yes, damp walls are one of the most common causes. Moisture trapped inside masonry or plaster tries to evaporate outward. When it hits the dried layer of paint, it creates hydrostatic pressure, physically pushing the emulsion off the surface.
Yes, especially on bare plaster, newly applied filler, or heavily repaired surfaces. Primer acts as a binding bridge; it seals porous materials so they do not absorb moisture from the topcoat, ensuring a strong, even bond.
You should usually wait at least 24 hours after making plaster repairs, fixing damp issues, and allowing your primer to dry. Always check the manufacturer’s instructions on your paint tin for exact recoat times.
No, they usually worsen over time. While some tiny air bubbles from a fluffy paint roller might settle as the paint dries, blisters caused by moisture or poor adhesion will eventually crack, flake, and peel away from the wall.
YOU MIGHT ALSO BE INTERESTED IN