How to Install a Rangehood: A Step-by-Step Guide
Install a Rangehood: A Step-by-Step Guide
If you're unsure where to start, don’t worry. This guide will walk you through the process of installing a new Rangehood, helping you eliminate unwanted smells, smoke, and grease with ease. While this tutorial offers a helpful overview, always refer to your specific model’s manual for detailed instructions. Let's get started!
Step 1: Choose the Right Rangehood
Before diving into the installation, consider your kitchen's size and how often you cook. The Rangehood's power, measured in cubic feet per minute (CFM), is crucial. As a rule of thumb, aim for a Rangehood with a CFM rating double the size of your kitchen. If your stove is gas, make sure the CFM also matches or exceeds the cooktop's BTU output. For frequent frying or steaming, consider a more powerful option to ensure better clearance.
Step 2: Gather Supplies and Tools
Here's a checklist of what you’ll need:
Supplies:
- Caps
- Wire connectors
- Metal ducts
- Wall-mount brackets
- Electrical wire
- Caulk
Tools:
- Twist drill bits
- Claw hammer
- Wire cutters
- Power drill
- Screwdriver
- Caulk gun
- Pliers
- Reciprocating saw or oscillating tool
Safety Tip: Always turn off the electricity at the fuse box before starting! Unplug and disconnect any existing wiring.
Step 3: Remove the Old Rangehood
If you're replacing an old Rangehood or a microwave combo, start by safely removing it. This clears the space for your new installation.
Step 4: Prepare the Installation Area
Measure the spot where the new Rangehood will be mounted. Rangehoods often come with paper templates to help you determine the exact location of the vent hole. Before cutting into the wall, drill a small pilot hole to check for any wires or pipes that could interfere with the installation. If obstacles like wiring or plumbing are found, you may need a contractor to reroute them. The vent hole should have direct access to the outside of your home.
Step 5: Cut the Vent Hole
You’ll need at least a 6-inch hole for your new vent. Use a reciprocating saw or oscillating tool to cut through the wall. If cutting from the inside out, drill four smaller locating holes at the edges of the vent opening to help you align the external cut.
Step 6: Attach the Vent Cap
Once the external vent hole is cut, attach the vent cap using screws, ensuring it's properly sealed with caulk. This will keep moisture and pests out.
Step 7: Waterproof the Exterior Vent
Make sure the exterior vent is waterproof and secure. Cut a square piece of PVC trim, and place it around the vent hole if your home has a rough or uneven surface. Fasten the vent cover with screws and caulk.
Step 8: Install the Damper and Ductwork
Measure how much ducting you’ll need inside. Some Rangehoods require a damper installed at the vent opening. Secure the ductwork with foil or duct tape, ensuring a snug fit to the damper.
Step 9: Connect Electrical Wiring
If you're comfortable with electrical work, now's the time to run wiring from the breaker box to the Rangehood's electrical terminal. Otherwise, it's highly recommended to hire an electrician for this step. Cut any necessary holes in the wall or cabinet for the wire path.
Step 10: Mount the Rangehood
With a helper, hold the Rangehood in place and thread mounting screws through the pre-drilled slots. Start by tightening the top screws first, and check that the Rangehood is level before fully securing all screws. You may want to remove the grease filter temporarily to make tightening easier.
Step 11: Finalize the Electrical Connections
Connect the wires: black to black, white to white, and ground to ground. Use wire caps to cover the connections, and cut off any excess wire.
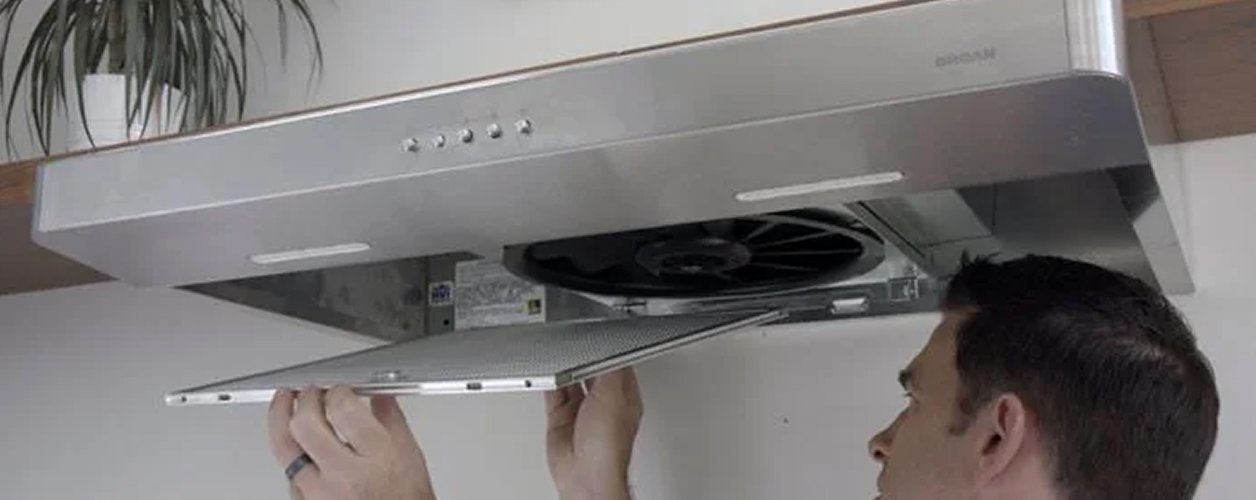
Step 12: Install the Hood Components
If you removed any parts like the fan, vent covers, or filter screens, reinstall them now. Once the Rangehood is fully assembled, turn the power back on to test its functionality.
Wrapping Up
If everything’s working smoothly, congratulations—you’ve successfully installed your new Rangehood! If you're ever unsure about tackling this project alone, many stores offer installation services at the time of purchase, which can include removal of your old appliance.
We hope this guide made the process easy for you. Here's to a fresher, cleaner kitchen! For more tips and tutorials, visit our website.


