How To Paint A Room
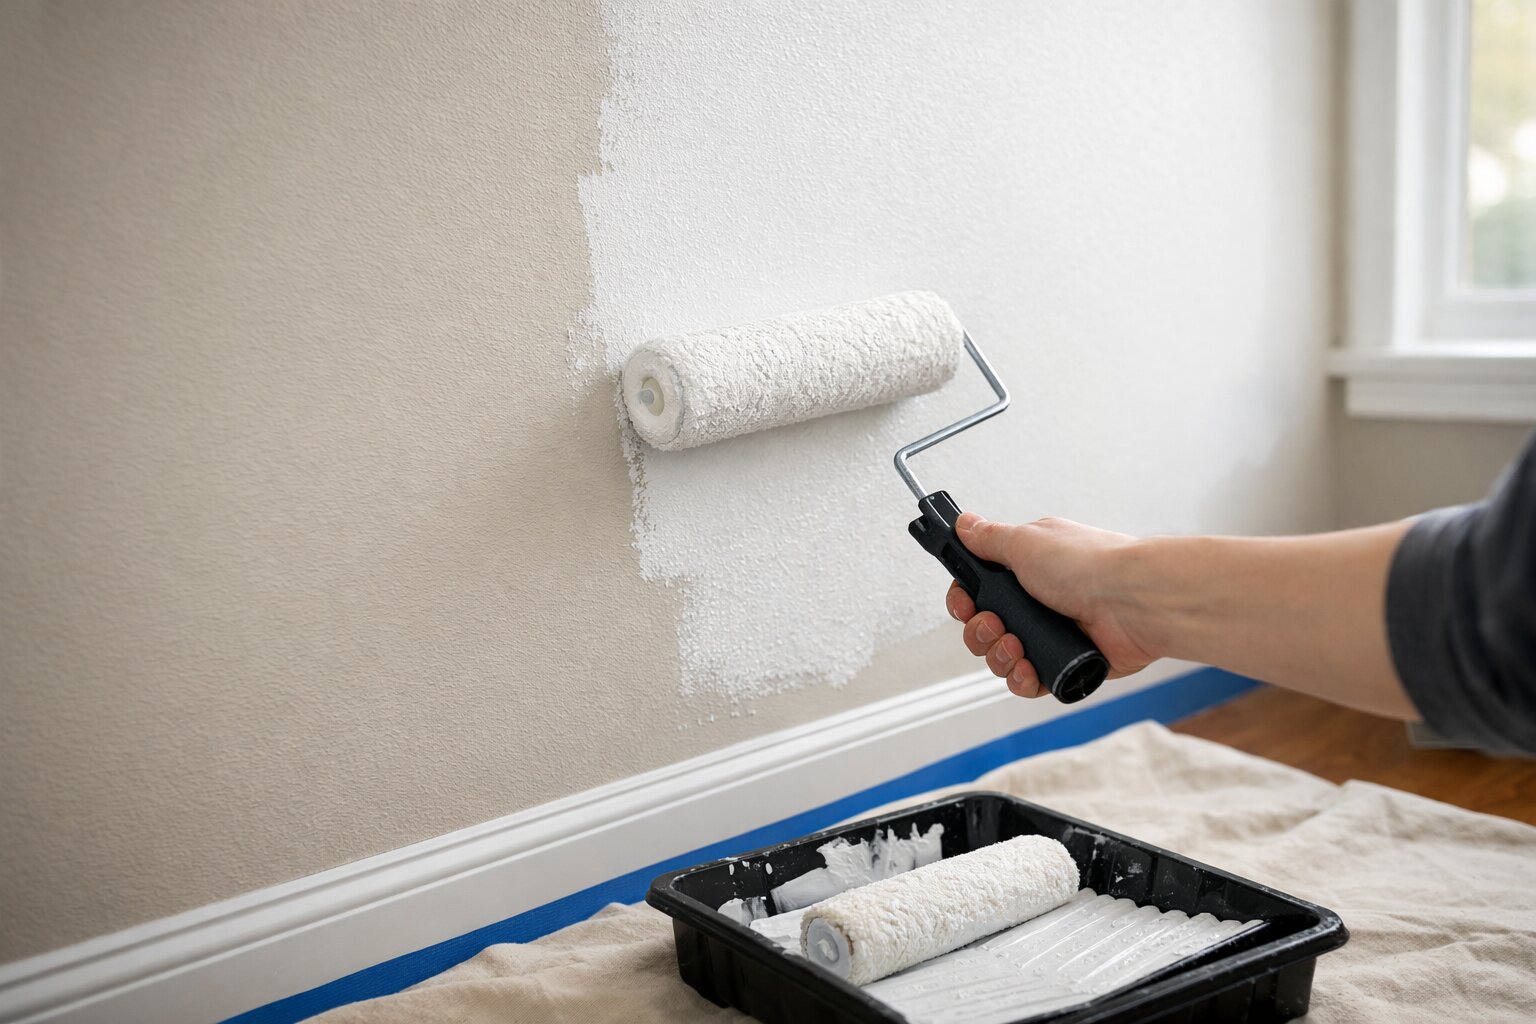
Table Of Content
- Introduction
- Tools and Materials You’ll Need
- How to Prepare a Room for Painting
- Choosing the Right Paint and Finish
- Step-by-Step: How to Paint a Room
- How Long Does It Take to Paint a Room?
- Tips for a Professional Finish
- Common Painting Mistakes to Avoid
- How to Clean Up After Painting
- When to Hire a Professional Painter
- Final Thoughts
To paint a room from start to finish, begin by preparing the space, repairing walls, and applying primer if needed. Then cut in edges, roll paint onto walls in even coats, and allow proper drying time between layers. Finish by removing tape, touching up edges, and cleaning up. With the right tools and preparation, you can achieve a smooth, professional-looking result.
Whether you are looking to refresh a tired bedroom, update your living area, or completely transform the mood of your home, this interior painting guide will walk you through the entire process. Learning how to paint a room is an incredibly rewarding skill that saves you money and allows for ultimate creative control.
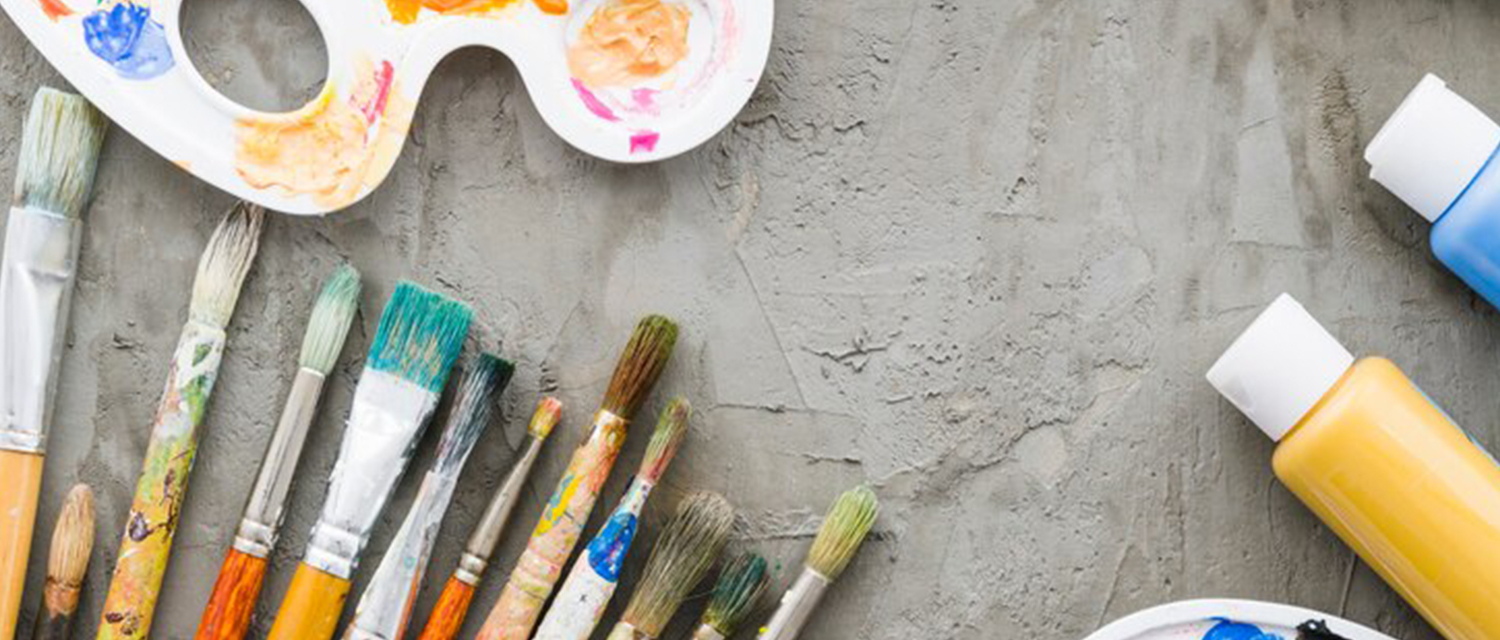
Tools and Materials You’ll Need
Before diving into your DIY room painting project, gathering the right supplies is essential. Investing in high-quality painting tools will make the job easier and yield a far superior result. Cheap brushes shed bristles, and budget rollers leave lint on your walls.
Here is a comprehensive checklist of what you will need:
- Paint (Interior Emulsion): Choose a high-quality interior wall paint in your preferred colour and finish.
- Primer: Essential for unpainted surfaces, dark walls, or covering stains.
- Rollers and Brushes: A 9-inch roller with a 3/8-inch nap (for smooth walls) and a 2-inch to 2.5-inch angled synthetic brush for precise cutting in.
- Paint Tray and Liners: For easy rolling and even quicker cleanup.
- Painter’s Tape: High-quality, multi-surface masking tape to protect trim and ceilings.
- Drop Sheets: Canvas drop cloths are highly recommended over plastic, as they absorb spills rather than becoming slippery.
- Sandpaper: Medium (120-grit) and fine (220-grit) for smoothing out repairs and rough spots.
- Filler / Spackle and Putty Knife: For filling in nail holes and dents.
- Sturdy Ladder: A reliable step ladder to safely reach ceilings and high corners.
Optional but highly recommended:
- Extension Pole: Screws into your roller handle, saving your back and helping you reach high walls effortlessly.
- Paint Mixer: A wooden stirring stick or a drill attachment to properly blend the paint.
How to Prepare a Room for Painting
Professional painters often say that a flawless finish is 80% preparation and 20% painting. Skipping proper wall paint preparation is the fastest way to end up with a messy, uneven result. Taking the time to properly prep your space ensures the paint adheres correctly and your belongings stay clean.
Clear and Protect the Space
Start by removing as much furniture from the room as possible. If you have large, heavy items like beds or wardrobes, move them to the centre of the room and cover them tightly with plastic sheeting. Next, protect your floors. Lay down heavy canvas drop sheets, securing them with tape at the edges if necessary. Remove all wall hangings, curtains, blinds, and hardware to give yourself an unobstructed canvas.
Clean the Walls
Paint will not adhere properly to dust, dirt, or greasy fingerprints. Use a damp sponge and a mild detergent (like sugar soap or a water-and-dish-soap mixture) to thoroughly wash the walls. Pay special attention to high-traffic areas, such as around light switches and door frames, where oils from hands tend to accumulate. Wipe the walls down with clean water afterwards and allow them to dry completely.
Repair Any Damage
Inspect your walls closely. Fill any nail holes, screw holes, dents, or gouges with wall filler or spackle using a putty knife. Scrape off the excess to leave it as flush with the wall as possible. Once the filler has dried, sand the patched areas with medium, then fine sandpaper until they blend seamlessly with the surrounding wall. Wipe away the sanding dust with a damp cloth.
Tape Edges and Fixtures
Using high-quality painter’s tape, carefully tape off all baseboards, window frames, door trims, and any remaining fixtures you cannot remove. Remove the faceplates from electrical outlets and light switches, taping over the exposed switches safely. Press the edges of the tape down firmly with a putty knife or your fingernail to seal it and prevent paint from bleeding underneath.
Choosing the Right Paint and Finish
Selecting the right interior emulsion or latex paint goes far beyond just picking a colour. The finish (or sheen) you choose impacts both the aesthetic appeal and the durability of your walls.
- Matte (Flat) Finish: This non-reflective finish is excellent at hiding surface imperfections, bumps, and bad drywall seams. However, it is the least durable and hardest to clean, making it best suited for low-traffic areas like adult bedrooms or ceilings.
- Satin and Eggshell: These are the most popular choices for interior wall painting. They offer a slight, velvety sheen that bounces a bit of light around the room. Crucially, they are wipeable and durable, making them ideal for living rooms, hallways, and children’s bedrooms.
- Semi-Gloss and Gloss: Highly reflective and extremely durable. These finishes are typically reserved for skirting boards, doors, window trims, and architectural details rather than entire walls.
- Moisture-Resistant Paint: If you are painting a kitchen or a bathroom, standard paint may peel or develop mildew due to humidity. Always opt for a moisture-resistant, anti-mould paint specifically formulated for high-humidity environments.
- Ceiling Paint: Specially formulated to roll on with minimal splatter and dry to an ultra-flat finish, ensuring light doesn’t highlight ceiling imperfections.
Step-by-Step: How to Paint a Room
With the room prepped and your materials ready, it is time for the main event. Following these painting walls step by step instructions will help you execute your DIY room painting project flawlessly.
Step 1 – Apply Primer (If Needed)
You do not always need to prime, but in certain scenarios, it is absolutely non-negotiable. You must apply a coat of primer if you are painting over brand-new plaster or bare drywall, as these surfaces are highly porous and will absorb standard paint unevenly. Primer is also required if you are making a drastic colour change (like going from dark navy to light cream) or trying to cover water stains or smoke damage. Use a stain-blocking primer for tough marks. Apply the primer using the same cutting-in and rolling techniques outlined below, and let it dry completely.
Step 2 – Cut In the Edges
"Cutting in" refers to painting the borders of the room where a roller cannot easily reach. Using your 2-inch to 2.5-inch angled brush, dip the bristles about one-third of the way into the paint, tapping the brush against the side of the container to remove excess.
Carefully paint a 2-to-3-inch border around the ceiling line, baseboards, corners, windows, and door frames. Hold the brush like a pencil for maximum control. The goal is to create a thick enough border that your roller can overlap it later without bumping into the trim or ceiling. It is best to cut in one wall at a time so the brushed paint stays wet when you begin rolling.
Step 3 – Roll the Walls
Now for the most satisfying part. Pour your paint into the tray. Load your roller by rolling it down the sloped part of the tray until it is evenly coated, but not dripping.
Use a “W” or "M" pattern when rolling paint to ensure even coverage.
Start near a corner and roll a 3-by-3-foot "W" shape onto the wall. Without lifting the roller, fill in the gaps of the "W" using vertical strokes until the area is fully and evenly covered. Overlap slightly onto the wet edge of your cut-in border. Move systematically across the wall, working in small sections and always maintaining a "wet edge" to avoid visible overlap lines.
Step 4 – Let the First Coat Dry
Patience is a crucial element of a professional painting finish. Once the first coat is fully applied, you must step back and let it dry according to the manufacturer’s instructions.
Typically, latex and emulsion paints feel dry to the touch within an hour, but they need 2 to 4 hours to be ready for a second coat. Avoid rushing this step. High humidity or low temperatures can extend the drying time. If you apply the second coat too soon, you risk pulling up the semi-wet first coat, causing a textured, peeling mess.
Step 5 – Apply Second Coat
Even if the first coat looks relatively solid, a second coat is almost always necessary for true colour depth and an even sheen. The second coat fills in any light spots, roller tracks, or brush marks you may have missed.
Repeat the process: cut in the edges of the wall you are working on, and then roll the walls using the same "W" technique. You will likely find the second coat goes on much faster and smoother than the first.
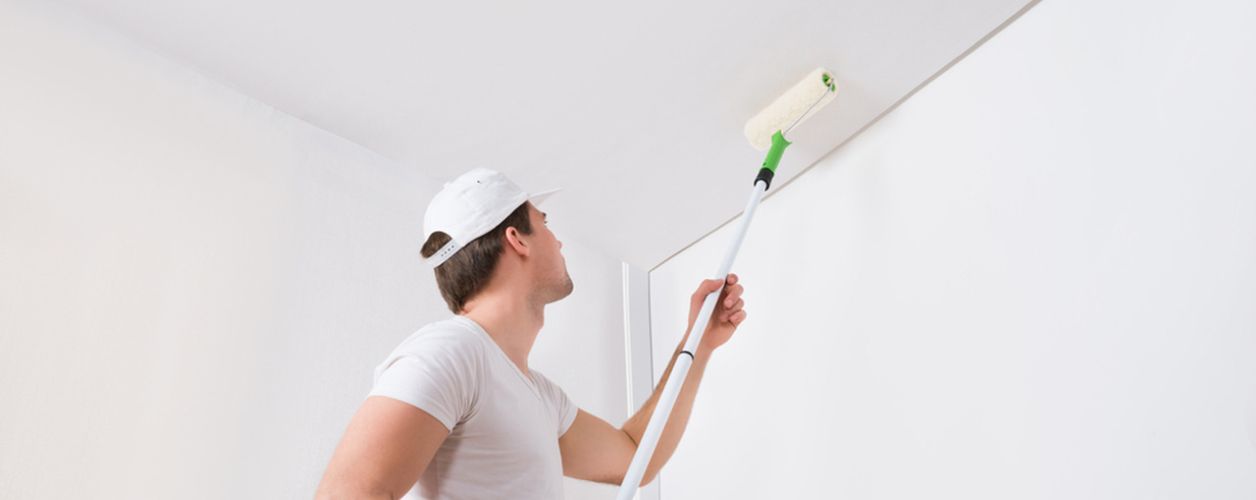
Step 6 – Paint Ceiling and Trim
Note on order of operations: If you are painting the entire room (ceiling, walls, and trim), the golden rule is to work from top to bottom. You would paint the ceiling first, then the walls (Steps 1-5), and finish with the trim.
If you are incorporating ceilings and trims into your project:
- Ceiling First: Roll the ceiling before you do any wall prep. This prevents ceiling splatter from ruining freshly painted walls.
- Trim Last: Once the walls are completely dry (ideally after 24 hours), apply painter’s tape to the wall where it meets the trim. Use your angled brush to paint the skirting boards, window frames, and door trims with a durable semi-gloss or satin finish.
How Long Does It Take to Paint a Room?
For a standard-sized bedroom or living room (around 10x12 feet), you should allocate an entire weekend to comfortably complete the project without rushing.
Here is a general breakdown of the timeline:
- Preparation: 2–4 hours. This includes moving furniture, cleaning walls, taping, and laying drop sheets.
- Painting (Cutting in and Rolling): 4–6 hours of active labour for two coats.
- Drying Time: 2 to 4 hours between coats, plus an additional 24 hours of total drying time before you should push heavy furniture back against the walls or rehang heavy artwork.
While you can paint a room in a single day, breaking the prep and painting into two separate days is less exhausting and generally results in better attention to detail.
Tips for a Professional Finish
Achieving a flawless, professional painting finish is all about mastering a few subtle techniques.
- Use Thin Coats: Resist the urge to slather the paint on thickly to save time. Thick coats drip, run, and take forever to cure. Two or even three thin, even coats will always look better and last longer.
- Maintain a Wet Edge: Always roll from a dry area back into the wet edge of your previous stroke. This prevents "lap marks" (visible lines where two layers of paint overlap and dry unevenly).
- Avoid Overloading the Roller: If your roller is dripping before it reaches the wall, it has too much paint. Conversely, if you have to press hard against the wall to transfer paint, the roller is too dry.
- Use Good Lighting: Paint in natural daylight if possible. If you must paint in the evening, bring in bright work lights. Shadows are a painter’s worst enemy and will hide drips and missed spots until the sun comes up.
- Store Tools Properly Between Coats: If you need to take a break while the first coat dries, don't wash your brushes and rollers. Wrap them tightly in plastic wrap or a plastic bag and put them in the fridge. They will stay perfectly moist and ready to use for your second coat.
Common Painting Mistakes to Avoid
Even the most enthusiastic DIYers can stumble if they aren't careful. Keep these common pitfalls in mind:
- Skipping Prep Work: Ignoring dust, failing to patch holes, or poorly applying painter's tape will ruin the final look, no matter how expensive your paint is.
- Applying Thick Coats: This leads to unsightly drips, long drying times, and an uneven finish.
- Uneven Rolling: Pressing too hard on one side of the roller frame creates distinct lines on the wall. Let the roller do the work.
- Not Using Primer: Skipping primer on patched drywall or dark colours guarantees uneven absorption and bleeding colours.
- Poor Drying Time: Recoating too soon will pull up the previous layer of paint, leaving a patchy texture that is difficult to fix.
How to Clean Up After Painting
The job isn’t done until the room is clean. Proper cleanup ensures your tools will be ready for your next home painting guide project.
- Clean Brushes and Rollers: For water-based interior emulsion, run your brushes and rollers under warm, soapy water. Use a brush comb to remove dried paint near the base of the bristles. Rinse until the water runs completely clear, then shake out the excess water and hang them to dry.
- Remove Tape Carefully: Do not wait until the paint is rock hard to remove the tape, as it may peel the wall paint off with it. Remove the tape while the final coat is still slightly tacky. Pull the tape back on itself at a 45-degree angle. If the paint starts to lift, gently score the edge with a utility knife before pulling.
- Dispose of Waste Properly: Never pour leftover paint down the drain. Seal leftover paint tightly for future touch-ups. If you must dispose of it, let it dry out completely (you can add cat litter to speed this up) and dispose of it according to your local waste regulations.
When to Hire a Professional Painter
While DIY room painting is a fantastic weekend project, some situations warrant calling in the experts.
You should consider hiring a professional painter if you are dealing with massive spaces, incredibly high ceilings, or tricky stairwells where maneuvering a ladder is dangerous. Professionals are also recommended if your walls require extensive drywall repair or if you desire complex finishes, such as Venetian plaster, lime wash, or intricate geometric patterns. Finally, if you are on a strict time constraint—such as preparing a home for an imminent real estate listing—a professional crew can accomplish in one day what might take a DIYer an entire week.
Final Thoughts
Painting a room is a manageable DIY project when done step by step. With proper preparation, the right tools, and the correct application techniques, you can achieve a clean, professional finish that completely transforms your space. Take your time, enjoy the process, and admire your newly revitalized room.


Answers to Your Common Questions
Start with the ceiling, then move to the walls, and finish with the trim, baseboards, and doors. Working top to bottom ensures that any drips or splatters from upper surfaces do not ruin freshly painted areas below.
Yes, especially if you are painting over new, unpainted drywall or plaster, repairing patched holes, or making a drastic colour change. Primer ensures even absorption, blocks stains, and gives the paint a uniform surface to grip.
Usually, two coats are needed for even, professional coverage. The first coat rarely provides full opacity, and the second coat ensures accurate colour depth, hides roller marks, and creates an even sheen.
Typically, you should wait 2 to 4 hours depending on the paint, temperature, and humidity. Always read the back of the paint tin. The paint must be completely dry to the touch and no longer tacky before applying the next layer.
Yes, but drying time may extend the process. If you start early, prep and apply the first coat in the morning, and apply the second coat in the late afternoon, it is possible. However, breaking it into a two-day project (prep day, paint day) is often less stressful.
Matte or satin (eggshell) finishes are commonly used for interior wall painting. Matte is great for hiding imperfections in low-traffic rooms, while satin offers a durable, wipeable finish perfect for living rooms, hallways, and bedrooms.
Use even pressure and consistent strokes, avoiding pressing too hard on the roller. Maintain a "wet edge" by slightly overlapping your new strokes into the still-wet paint of your previous strokes, and never stretch the paint too thin.
YOU MIGHT ALSO BE INTERESTED IN