How to Install a Rangehood: Step-by-Step Guide
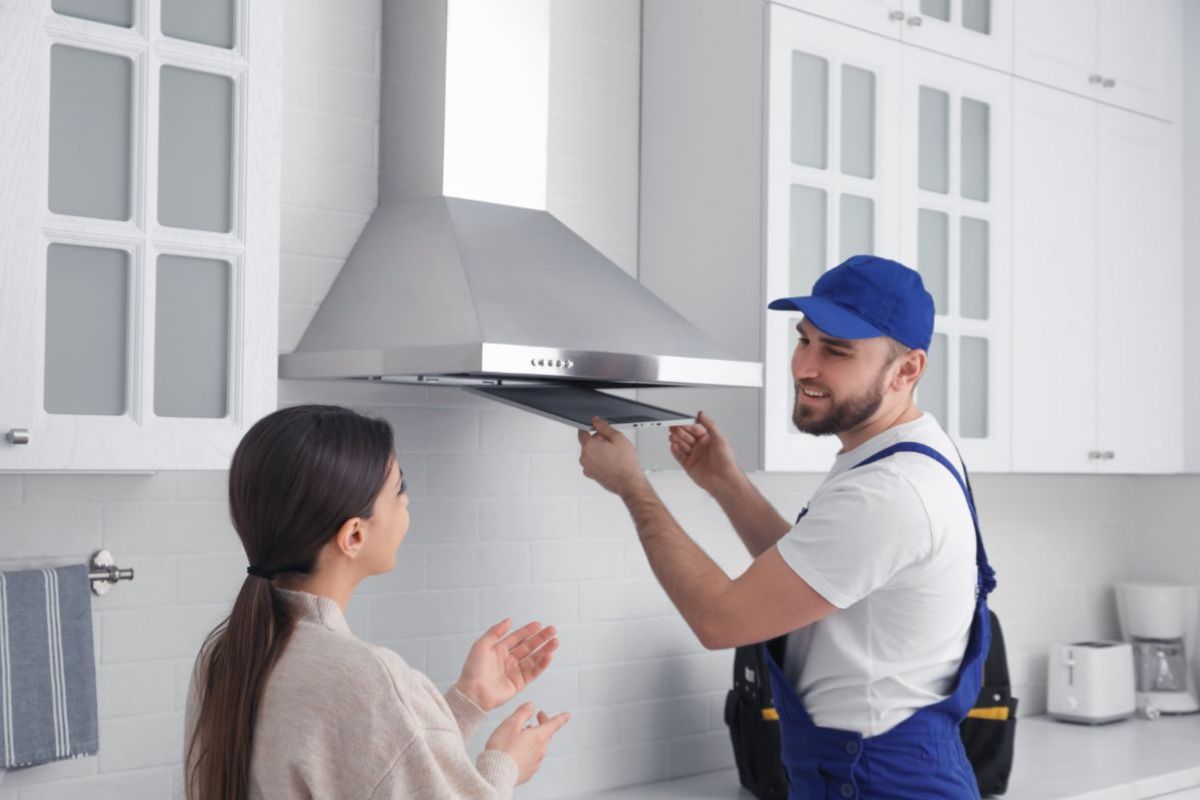
Table Of Content
- Key Steps
- Introduction
- Tools and Materials You Will Need
- Time of Completion for Range Hood Installation
- A Guide For Steps In The Range Hood Installation
- Conclusion
Key Steps
- Preparation For Installation: Measure the length, width and depth of your stove and buy a range hood with the same measurement. Collect necessary equipment (drill, screwdriver, level) or gauge if there are any permits required.
- Install Hassle Free: Locate where the mounting will be properly positioned - levelled and at the appropriate height (normally 24 to 30 inches above the stove). Checking all conduits for obstruction to prevent issues with the installation.
- Manufacturer Installation Guides: It is advisable to refer always to the installation manual specific to the range hood for detailed instructions. If you are unsure about any steps consult an expert to avoid compromising on the installation safety or the effectiveness.
A properly functioning range hood is an important element of any working kitchen today. Not only does it assist in getting rid of smoke, bad smells, and grease when you are preparing food, but it does assists in improving the standard of air within the kitchen. Even when performing a simple remodelling job in your kitchen or even when looking for ways to improve your cooking area, setting up a range hood makes a huge difference.
In this guide, you will see that we are going to lead you through all the kitchen rangehood installation or outdoor rangehood installation steps, right from the beginning to the very end. Here are the steps to follow from collecting the required tools and materials to construction and even how to make the ventilation connection properly. We have provided clear guidelines regardless of whether you select a ducted or ductless model to ensure that your kitchen looks visually appealing as well as functional. Let’s get started!
Tools and Materials You Will Need
Failure to do this may be an interruption of the progress to attend to other errands to acquire some of the requirements. Here’s what you’ll need:
Tools:
- Screwdriver
- Power drill
- Level
- Measuring tape
- Pencil or marker
- Stud finder
- Adjustable wrench
- Ladder (if needed)
- Safety goggles
Materials:
- Range hood: The choice is between having a duct system for the ducted type or no duct at all for the ductless type.
- Mounting bracket – normally, supplied
- When buying a range hood, screws are often included with the package.
- The ducting system of the rangehood if it is a ducted one.
- Extension cords and connectors (in the case of hard wiring the appliances).
- Duct tape or clamps that are used in any ductwork.
- Replacement of charcoal filters (for ductless models if not standard)
Time of Completion for Range Hood Installation
Putting up a range hood usually takes five hours or more depending on the situation with the ducts. It is crucial always to prepare adequately for installation work to discourage any installations that would even prompt such criticism. This includes a collection of related tools, trying to identify the mounts location and also endeavouring to create any necessary changes on the current ductwork.
First, it is necessary to get acquainted with the code of regulations concerning construction works to find out whether a permit is required for the installation. This step is important as failing to do so can attract some fines or problems in the future when doing business. Also, take the dimensions of your stove to ensure that the new range hood will fit well on it.
A Guide For Steps In The Range Hood Installation
Whether you're learning how to install an undermount rangehood, a wall-mounted option, or even a canopy style, the steps below will help ensure a smooth and secure installation.
Step 1: Safety Precautions:
When handling electrical appliances and equipment practicality should be put aside and safety should be the main consideration. Here are some essential precautions:
- Turn Off Power: This makes it important to turn off the circuit breaker if your range hood needs to be hardwired.
- Wear Safety Gear: These include using goggles to avoid harbouring the working area and the eyes from any debris.
- Ensure Good Ventilation: Make available fresh air in your workspace especially if you are using power tools by opening any window or door.
Step 2: Prepare for Installation:
A. Measure and Choose the Location:
- Determine Height: Another essential aspect that concerns the height of installation is that a good range hood should be installed 28 to 36 inches from the cooking top. Check with your manufacturer for any of these specific guidelines as they may have them listed somewhere.
- Find the Center: Take a distance of the width of your cooktop and draw a mark at the centre of the wall where the rangehood will be fixed.
- Locate Studs: If you are unsure of which part of the wall to mount the hood on, find the wall studs with a stud finder. Encircle the above-mentioned locations with the pencil.
B. Mark the Mounting Template:
- Use the Template: It is normally possible to acquire most range hoods with a mounting template. Place it against the wall at the appropriate degree of elevation, but using a spirit level.
- Outline the Template: Around the template, trace with a pencil to know where you will drill screw holes.
Note: If you're wondering how to install a canopy rangehood, note that these units often require additional clearance and ducting support due to their size and weight. Ensure that the wall or ceiling can support the hood’s structure, and follow the mounting template provided by the manufacturer. Always use appropriate anchors and double-check alignment with a level before securing the unit.
Step 3: Install the Range Hood:
A. Prepare the Wall:
- Drill Pilot Holes: With a correct drill bit, make drilled holes at each of the marked points. This will help ensure the screws go in straight: In case you do not want a crooked screw then you should ensure that the screws fit well in a line.
- Install the Mounting Bracket: Screw the bracket firmly to the wall as shown below with the screws that are being provided. Make sure it is plumb and screwed to the wall stud.
B. Attach the Range Hood:
- Lift the Hood: If necessary get assistance to raise the range hood and ensure that it correctly fits into the mounting bracket.
- Secure the Hood: Have to screw the range hood to the mounting bracket with the screws that come with it. Give it the firmness and level and press down the sides to ensure that they have touched the base firmly.
- Check Stability: Give it a little pull down the hood to make sure that it is properly fixed and that does not shake.
Step 4: Connecting the Ventilation:
A. Ducted Range Hood:
If you are installing a ducted range hood, follow these steps:
- Measure and Cut Ductwork: Create a distance from the range hood to the vent cap outside. Take measurements on the ductwork and cut them to the required size and length with a little allowance made on the blending.
- Connect Ductwork to Hood: Secure the ductwork to the exhaust outlet of the range hood. You can tighten it using duct tape or lock it using clamps appropriately placed on the square tube.
- Route the Duct: Pull the ductwork through the wall or the ceiling to the exterior vent. Do not put twists and turns in the duct so that the air gets to flow well in it.
- Seal Connections: Seal all the joints and connections properly by using duct tape since they do allow lots of air leaks.
- Install the Vent Cap: In this outside part of your home, you need to place a vent cap that matches your duct type. Ensure that it is well-fixed and has not been covered or blocked in any way.
B. Ductless Range Hood:
For ductless range hoods, the installation process is simpler:
- Install the Charcoal Filter: In most of the ductless hoods, the air is purified using charcoal filters. Place the filter according to the recommendation of the manufacturer inside the kitchen hood.
- Ensure Airflow: Make sure that the instruction switch at the hood is on the setting that circulates air back into the kitchen. In some cases, this will involve changing settings or toggling some kind of switch.
Step 5: Final Touches and Testing:
A. Electrical Connections:
- Hardwiring: If your hood is hard-wired make sure you join the wires as the manufacturer recommends it to. Normally leads use black (hot) to black, white (neutral) to white and green or bare to ground.
- Plugging: Some range hood only has a plug that has to be plugged into an available outlet nearby.
- Secure Wiring: Check that all connections are well tightened and that all cables are secured then you should observe that all cables that are exposed are covered by the electrical tape or the junction box cover.
B. Test the Range Hood:
- Turn On Power: Turn the circuit breaker back on, switch on the range hood then let it preheat for 5 minutes.
- Check Functionality: Check the fan and all the options in terms of light and see if they are in the right order. Use the fifth step and make sure no outrageous sounds are produced noting that the blower fans are working as expected.
- Adjust Settings: Take time and learn some of the features of your range hood for the best results.
Step 6: Maintenance Tips:
To ensure your range hood operates effectively, follow these maintenance tips:
- Regular Cleaning: Clean the outside part of the equipment with a gentle solution and clean soft cloth. This includes the regular cleaning of filters or occasionally, replacing filters depending on the manufacturer’s recommendation to clean the filter, which may take between 1 and 3 months.
- Filter Replacement: If you have a ductless range hood you should replace the charcoal filters as they should be replaced by the manufacturer’s guidelines which is 6-12 months.
- Check for Blockages: Two years of ‘the property’ etiquette Clean the duct work and covers that are generally attached to the vent cap to ensure that they do not clog with grease or other substances necessary to hinder proper airflow.
- Inspect Wiring: Oftentimes nicety and frequency of freshers unsafe electrical connections and parts. Contact a professional if you come across any problems to be fixed.
- Professional Servicing: You should hire a professional to check your range hood at least once a year especially when you are using it frequently.
Replacing Rangehood: If you're trying to figure out how to replace a range hood, the process is very similar to installing a new one. Start by turning off the power, then remove the screws and detach the old hood. Clean the surface and inspect existing ductwork or electrical outlets before mounting the new unit. Follow the same installation steps above to securely attach and connect your replacement.
Conclusion
Putting in a range hood is always a wise investment that will certainly help to add more value, functionality, or comfort to your kitchen. Besides filtering out smoke, smells and grease, a range hood contributes positively to the environment and makes for a cleaner place to cook. Reading the instructions given throughout this guide, you can successfully handle the installation on your own, which saves a lot of time and money. You can also check the cost to hire rangehood installers and plan your appliance installation with an expert.
Note that adequate installation is not enough; the best range hood is supposed to be maintained constantly to carry out its functions effectively. If you observe the above valid tips for the maintenance of your household appliance then you’ll be sure to increase its durability and at the same time ensure a healthy environment in the kitchen.
Installing a range hood no longer has to be a mystery as you now know to proceed and venture into having a well-ventilated kitchen. Goodbye and happy cooking with the new and improved kitchen! If you're unsure at any step or want a professional finish, don’t hesitate to contact certified kitchen appliance installers who can handle the job efficiently and safely.


