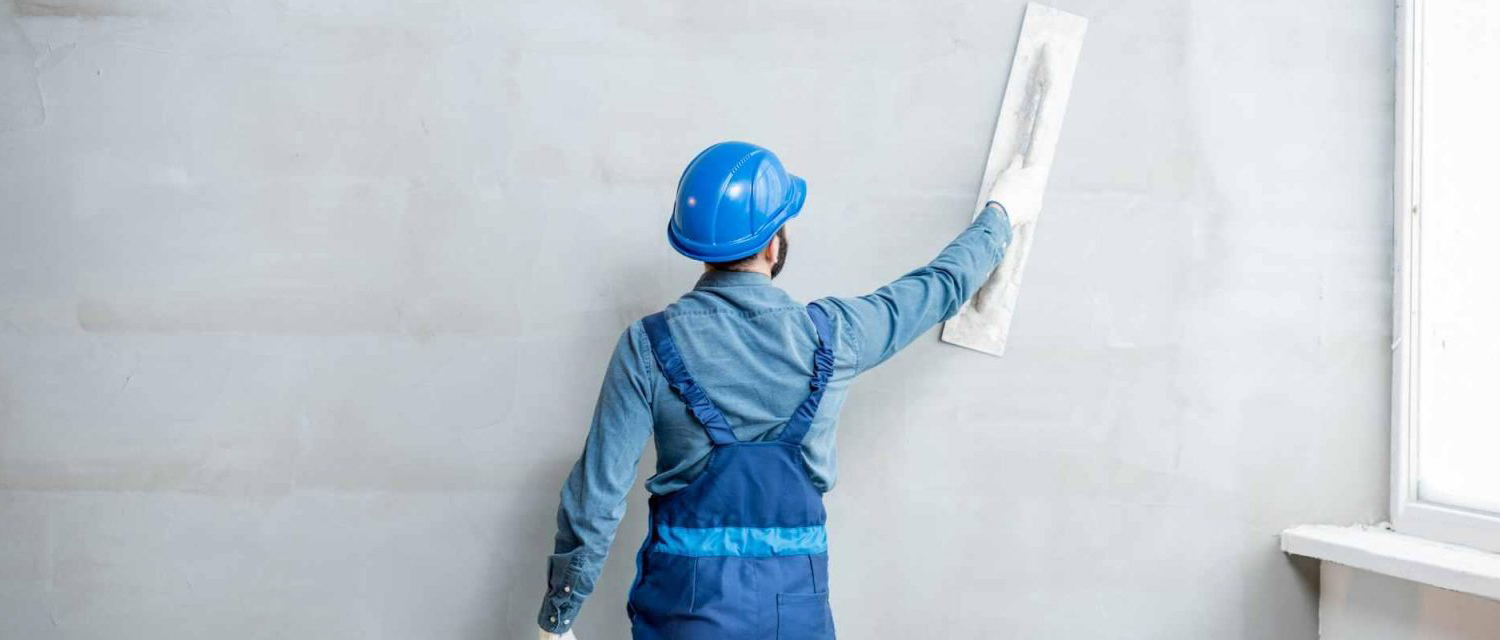
How to Fix Small Holes in Drywall
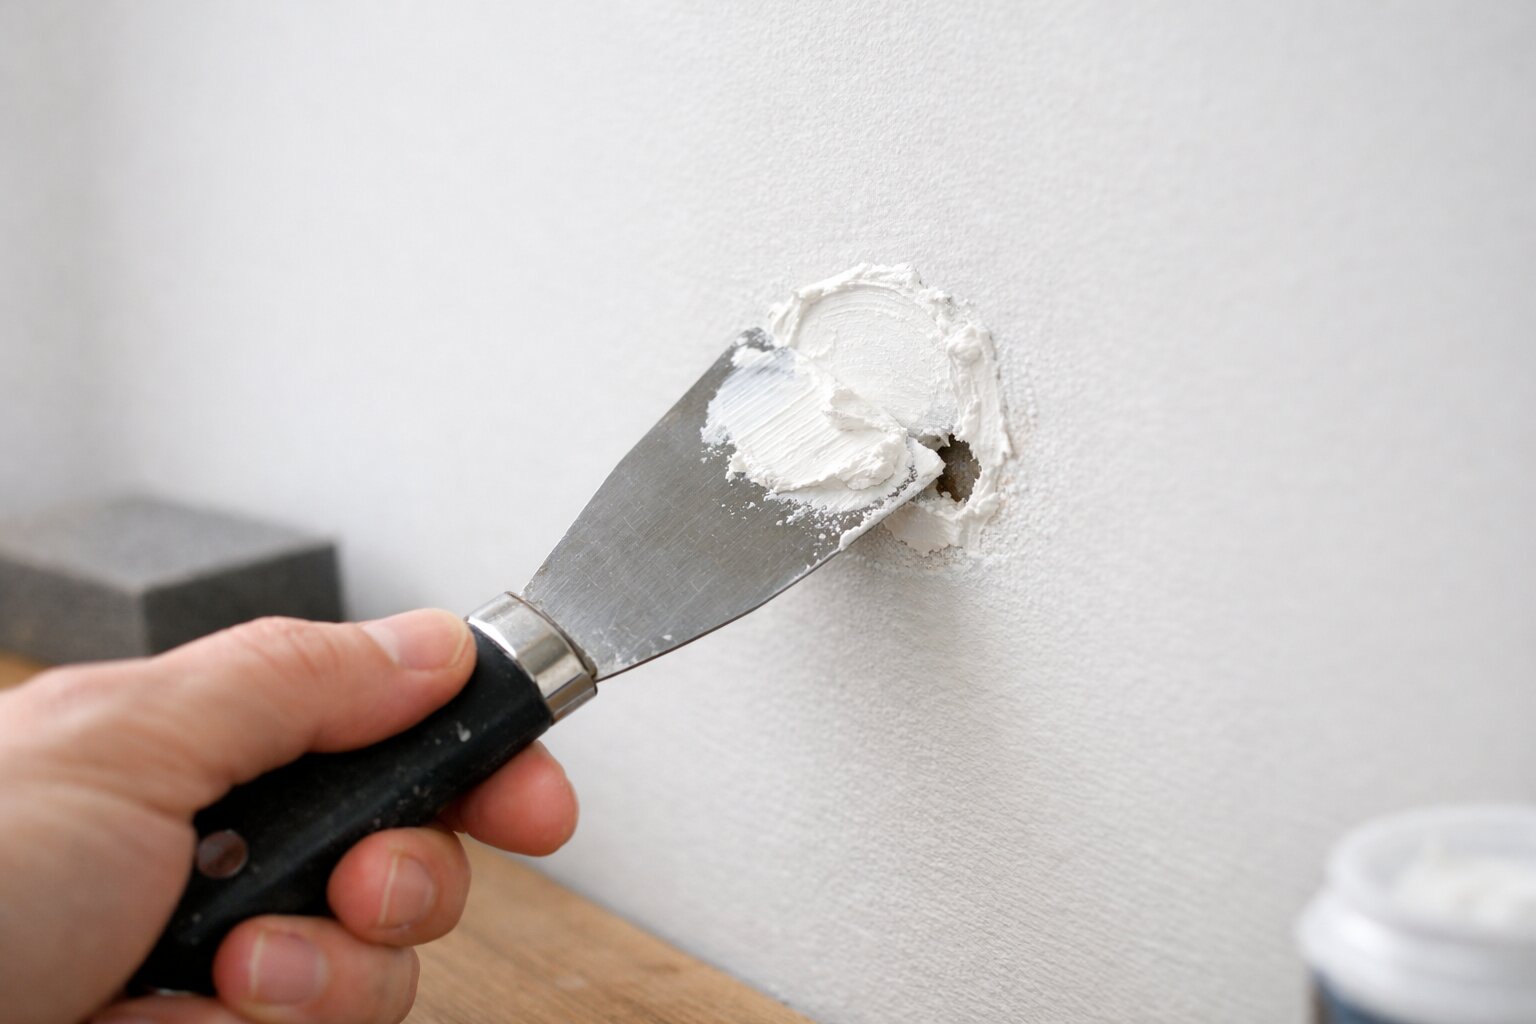
Table Of Content
- Introduction
- What Counts as a Small Hole in Drywall?
- Tools and Materials You’ll Need
- How to Fix Small Holes in Drywall (Step-by-Step)
- How to Fix Slightly Larger Small Holes (1–3 Inches)
- How Long Does Drywall Repair Take?
- Common Mistakes to Avoid
- Tips for a Professional Finish
- When to Call a Professional
- Final Thoughts
To fix small holes in drywall, clean the damaged area, apply spackling compound or wall filler, smooth it with a putty knife, let it dry, then sand and repaint. For slightly larger holes, use a patch before applying compound. With the right tools and proper drying time, most small drywall repairs can be completed in a few simple steps.
Whether you are preparing to move out of a rental, refreshing your living room, or simply tired of looking at that old picture-hanging mistake, this drywall repair DIY guide will walk you through exactly what you need to know.
What Counts as a Small Hole in Drywall?
Before you begin your home wall repair project, it is important to identify the scale of the damage. Drywall damage generally falls into a few distinct categories based on size and depth.
Small drywall holes are typically minor damage that can be repaired without replacing the panel.
This category includes:
- Nail holes: Left behind by picture frames, posters, or small wall hangings.
- Screw holes: Often caused by removed shelving, curtain rods, or TV mounts.
- Dents and dings: Created by doorknobs, bumped furniture, or flying indoor toys.
- Holes under 2 to 3 inches: Usually caused by minor accidents, which require slightly more attention but still do not necessitate cutting out sections of the drywall.
Understanding the size of the hole is crucial because it dictates the specific repair method you will use. A tiny pinhole from a thumbtack only requires a dab of spackle, while a two-inch hole from a doorknob will require a reinforcing patch to ensure the fix lasts.
Tools and Materials You’ll Need
One of the best things about a wall filler repair project is that it requires minimal investment. You can easily find these basic tools and materials at any local hardware store. Gathering your supplies beforehand ensures a smooth and continuous workflow.
Here is what you will need:
- Spackling compound / wall filler: The primary material used to fill the void. Look for shrink-free or lightweight spackle for tiny holes.
- Putty knife: A 2-inch to 4-inch flexible putty knife is perfect for applying and smoothing the compound.
- Sandpaper (medium and fine grit): You will need 120-grit (medium) to knock down high spots and 220-grit (fine) to achieve a smooth wall finish.
- Drywall patch: Necessary only for those "larger" small holes (1 to 3 inches). A self-adhesive fiberglass mesh patch works best.
- Primer: Essential for sealing the dried spackle so the paint adheres properly.
- Paint: A small amount of your existing wall color to blend the repair seamlessly into the surrounding area.
Optional but helpful items:
- Sanding block: Helps apply even pressure while sanding, preventing you from creating a depression in the spackle.
- Damp cloth or sponge: Great for cleaning the wall before repairing and wiping away drywall dust afterward.
How to Fix Small Holes in Drywall (Step-by-Step)
Learning how to patch wall holes is a foundational skill for any homeowner or renter. The following step-by-step process is the standard method used by professionals to guarantee a seamless, invisible repair for small dents, screw holes, and nail holes.
Step 1 – Clean the Area
The secret to a durable repair starts with preparation. Begin by removing any loose debris or hanging paper from the edges of the hole. If you are trying to fix nail holes in wall surfaces that protrude outward (often called a "volcano" effect), use the hard plastic handle of your putty knife to gently press the edges of the hole inward.
Next, take a damp cloth and wipe the wall to remove any dust, dirt, or grease. Ensure the surface is completely smooth and dry before moving on to the next step. Spackle will not adhere properly to a dusty or crumbling surface.
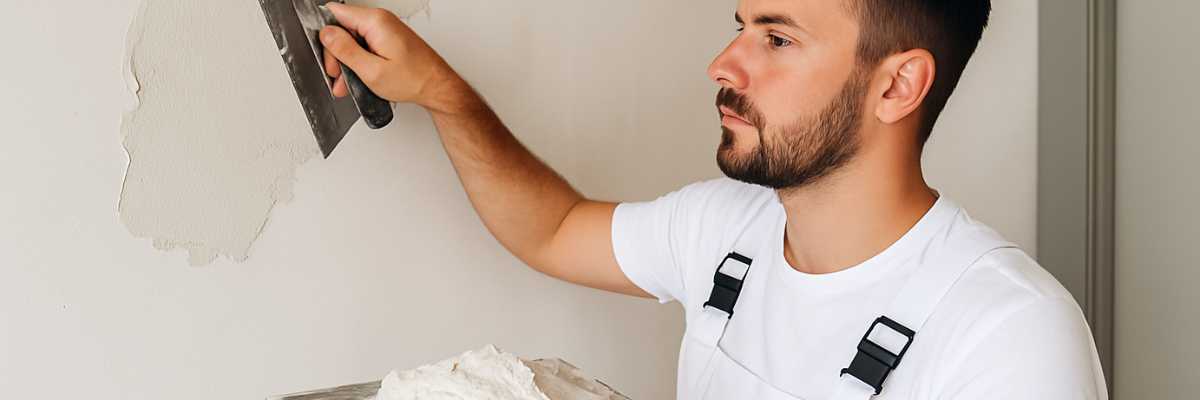
Step 2 – Apply Filler or Spackle
Scoop a small amount of spackling compound or wall filler onto the edge of your putty knife. Press the compound firmly into the hole to ensure it completely fills the void, eliminating any air pockets inside.
Once the hole is filled, hold your putty knife at a 45-degree angle and gently scrape it across the surface to spread the compound evenly. Scrape away the excess spackle from the surrounding wall so that the patch is as flush with the wall as possible.
Step 3 – Let It Dry Completely
Patience is critical during interior wall fixes. Always follow the product's recommended drying time, which is usually found on the back of the spackle container. Lightweight spackle may dry in just 30 minutes, while standard compounds might take a few hours.
Allow the filler to dry fully before sanding to avoid cracks. If you rush this step and try to sand or paint wet compound, it will smear, shrink, or fall out of the hole entirely, forcing you to start over.
Step 4 – Sand the Surface Smooth
Once the compound is chalky and hard to the touch, it is time to sand. Wrap a piece of fine-grit sandpaper (220-grit) around a sanding block and lightly sand the patched area.
Use gentle, circular motions to blend the edges of the spackle with the surrounding wall. Run your fingers over the area—if you can feel a ridge or a bump, keep sanding until the transition from the wall to the patch is entirely imperceptible. Wipe away the resulting dust with a dry microfiber towel or a lightly damp cloth.
Step 5 – Apply a Second Coat (If Needed)
Standard spackling compound contains water, which means it may shrink slightly as it dries. If you notice a slight depression in the hole after the first coat has dried, you will need to apply a second layer.
Repeat the process: fill the shrinkage, scrape it flush, let it dry completely, and repeat the sanding process. Taking the time to apply a second coat is often the difference between an amateur fix and a professional-grade drywall repair DIY.
Step 6 – Prime the Area
One of the most common mistakes beginners make is painting directly over dried spackle. Spackle is highly porous and will absorb the moisture from your paint, leaving a dull, flat spot on your wall (known as "flashing").
To prevent the patch from showing, brush a light coat of primer over the sanded area. Primer seals the compound and ensures an even paint finish. Let the primer dry completely according to the manufacturer's instructions.
Step 7 – Paint to Match the Wall
Finally, it is time to make the repair disappear. Stir your matching paint thoroughly. Using a small brush or a mini roller, apply the paint evenly over the primed area.
If your wall was painted with a roller originally, try to use a small roller for the touch-up, as brushes can leave stroke marks that clash with the surrounding roller texture (called "stipple"). You may need two coats of paint to perfectly blend the newly repaired spot with the rest of the room.
How to Fix Slightly Larger Small Holes (1–3 Inches)
If the hole is larger than a standard screw or nail hole—like the damage from a doorknob or a heavy wall anchor—simple spackle won’t be enough. The filler will fall into the empty space behind the drywall. For these repairs, you need to employ proper drywall patching techniques.
First, clean the edges of the hole just as you would for a smaller repair. Next, take a self-adhesive fiberglass mesh patch (commonly sold in 4x4 inch squares) and place it directly over the hole. Press firmly so the adhesive sticks to the surrounding drywall.
Once the patch is in place, use your putty knife to apply joint compound or standard spackle directly over the mesh patch. Press the compound through the mesh so it grips the edges of the hole. Spread the compound about an inch or two past the edges of the patch to "feather" it out, making the bump less noticeable.
Let the first coat dry, sand it smooth, and apply a second (and sometimes third) wider coat to fully hide the mesh grid. Once completely smooth and sanded, follow up with primer and repaint the area.
How Long Does Drywall Repair Take?
The amount of active labor required for home wall repair is minimal, but the overall timeframe depends heavily on waiting periods.
For tiny nail and screw holes, the entire process can be completed in just a few hours. Applying the filler takes less than five minutes, but the drying time of the spackle, primer, and paint dictates the pace.
For larger drywall patching that requires a mesh patch and multiple coats of joint compound, the project will typically span 1 to 2 days. The primary factor is always drying time. Applying thick layers of compound prolongs drying, which is why professionals prefer applying multiple thin, quick-drying layers rather than one massive, slow-drying glob.
Common Mistakes to Avoid
Even though fixing small holes in drywall is beginner-friendly, there are a few pitfalls that can turn a quick fix into a noticeable eyesore.
- Applying too much filler: Slapping on a massive mound of spackle creates a huge sanding job and drastically increases drying time. Use only what you need to fill the hole and scrape the rest flush.
- Not letting it dry: As mentioned earlier, sanding or painting over wet spackle will ruin the repair. If it feels cool or damp to the touch, it is not dry.
- Skipping sanding: Paint does not hide texture; it highlights it. Skipping the sanding step will leave a highly visible, lumpy bump on your wall.
- Painting without primer: This leads to "flashing," where the patched spot looks significantly duller than the rest of the wall. Always prime first.
- Rushing the process: Drywall repair requires patience. Let each layer of compound, primer, and paint cure fully before moving on.
Tips for a Professional Finish
Achieving a perfectly smooth wall finish comes down to a few expert techniques.
First, always use thin layers of spackle or compound. Not only do thin layers dry faster, but they also reduce the likelihood of the compound cracking as the moisture evaporates.
Second, learn to feather your edges. When scraping the putty knife over the hole, apply slightly more pressure to the outside edges of the blade. This creates a seamlessly tapered edge that blends into the wall, rather than leaving a harsh, raised boundary.
Third, match your paint texture. As mentioned, use a foam roller or a short-nap roller rather than a brush for your final coats of paint to mimic the existing stipple of the wall.
Finally, use proper lighting to check your smoothness. Before you prime or paint, hold a bright flashlight parallel to the wall (shining across the surface). The raking light will cast shadows on any uneven spots, scratches, or ridges that still need sanding.
When to Call a Professional
While most minor damage falls easily into the category of a weekend DIY, there are times when it is best to put down the putty knife and hire a professional.
You should consider calling a plastering contractor for large holes (anything larger than 5 to 6 inches) that require cutting out drywall, adding wooden backing, and taping new seams. You should also seek professional help if there is structural damage, such as deep cracks originating from window frames or ceiling joints, which can indicate foundation shifting.
Additionally, if a specific area requires repeated repairs (like a recurring crack or a continuously failing patch) or if you are trying to fix very poor previous work that has left your walls severely textured and uneven, a professional has the tools to skim-coat and restore the wall properly.
Final Thoughts
Fixing small holes in drywall is a simple DIY task when done correctly. With proper preparation, layering, and finishing, you can restore your wall to a smooth, professional-looking finish. By taking your time, avoiding common mistakes, and utilizing the right tools, your walls will look as flawless as the day they were first painted.


Answers to Your Common Questions
Using spackling compound, sanding, and repainting is the most effective method. Ensure you clean the hole, press the filler in completely, sand it flush, and apply primer before your final coat of paint.
Yes, very small holes—such as those left by nails, thumbtacks, or screws—can be filled directly with filler. Patches are only necessary when the hole is large enough (over 1 inch) that the spackle would fall completely through the wall.
Typically 1–4 hours depending on the product, the size of the hole, and the humidity in the room. Lightweight spackling can dry in as little as 30 minutes, while heavier joint compound may take up to 24 hours.
Yes, sanding ensures a smooth finish. Even if the wet spackle looks flat when applied, it often dries with minor ridges or bumps. Sanding with fine-grit paper makes the transition invisible.
It’s best to use primer first. Filler is highly absorbent and will suck the moisture out of standard paint, leaving a dull spot. Primer seals the patch so the paint looks even.
Use light sanding and proper paint application techniques. If your wall has an orange-peel texture, you can buy spray-on texture in a can. For standard smooth walls, applying your touch-up paint with a mini-roller will mimic the original stipple.
Yes, small hole repairs are beginner-friendly. They require very few tools, are inexpensive, and are very forgiving. If you make a mistake, you can simply sand it down and try again.
YOU MIGHT ALSO BE INTERESTED IN