Plastering is something of real structural significance in house redecoration which can change the entire appearance and texture of your living area. If you want to liven up your interior and exterior with a sleek contemporary finish or bring back the period character of an older building, knowing how plastering works is essential for getting that professional result.
Gyprock or plasterboard is the most widely used material in Australian plastering, accounting for over 70% of internal wall linings in residential buildings. There is a growing trend towards using eco-friendly plastering materials, such as lime plaster, which is more sustainable and offers better indoor air quality.
In this blog, we delve deep into everything you need to know before starting your plastering project, from choosing the correct type of plaster and practising essential techniques to surface preparation. Whether you're doing DIY, or simply want to make sure the pros you hire for that big basement wall know what they're doing. This guide will give you the best tips and insights for making your plastering project successful. In other words, you will be getting introduced to the world of plastering so roll up your sleeves as your walls and ceiling makeover is underway.
1. Understanding Plaster Types
There are many types of plaster available. A better understanding of plaster types is essential to choose the best material to fulfil your requirements. The type of plasterboard can affect the overall look and feel as well. It can also complement home painting and finishing.
Traditional Plaster: The traditional plaster uses lime, sand and water. Moreover, it is tough and breathable which makes them perfect for those older buildings. In addition, traditional plaster is less likely to crack from small movements in the building.
Gypsum Plaster: Modern homes mostly use Gypsum plaster aka drywall or Plasterboard since they are easy to apply and fast drying. Gypsum is a natural mineral. It is used for interior walls & ceilings.
Cement Plaster: A mixture of cement, sand and water. With its high temper strength and resilience, it is your alternative to putting in exterior walls or any wet area. It gives a strong finish but is less flexible than the plaster of Paris.
2. Surface Preparation
Achieving a smooth and long-lasting plaster finish depends on surface preparation. These are the key steps to make sure your surface is ready:
Clean the Surface: The surface on which you want to apply plaster must be clean and free from dust, dirt, grease etc. A few things prevent the material from sticking well. You must remove them before plastering for a smooth surface.
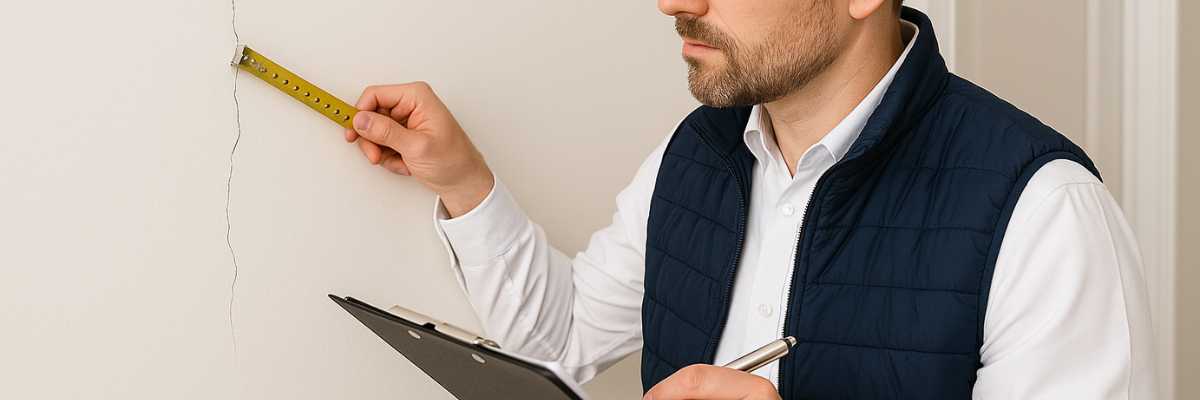
Repair Damage: Examine the top to ensure no cracks, holes or depressions. Fill or repair these with an appropriate filler, and wait for the mixture to dry completely before plastering. You may require a bonding agent for more significant plaster repairs.
Apply a Bonding Agent: To keep the plaster from falling off walls that are too smooth or non-porous, add a bonding agent to prime-shift it. This stage is widely applicable for flat surfaces such as glass or metal.
3. Choosing the Right Tools
Proper tools on hand can mean the difference between a good and poor job of plastering.
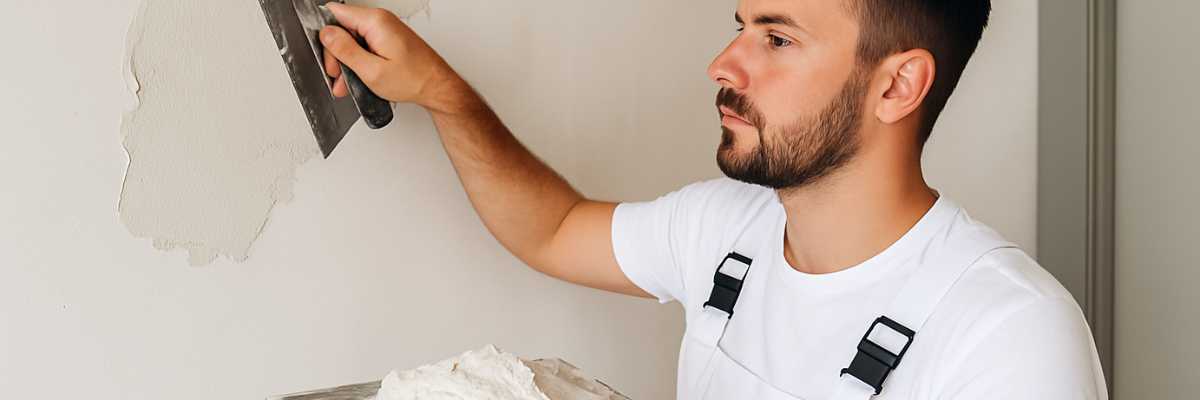
Trowels: You use a plastering trowel to put it on and smooth it flat. It comes in various sizes and shapes. You can pick a suitable one for your room.
Hawk: A hawk is a board with handles for carrying and holding plaster until it hardens to the wall or ceiling. It helps keep the plaster handy and provides for an easier application.
Plastering Float: A plastering float can smoothen the cement or gypsum-containing layer. It is useful for a steady outcome.
4. Plastering Techniques
The proper process ensures an ideal plaster finish. The most common methods fall into a few categories, and here are some of the examples:
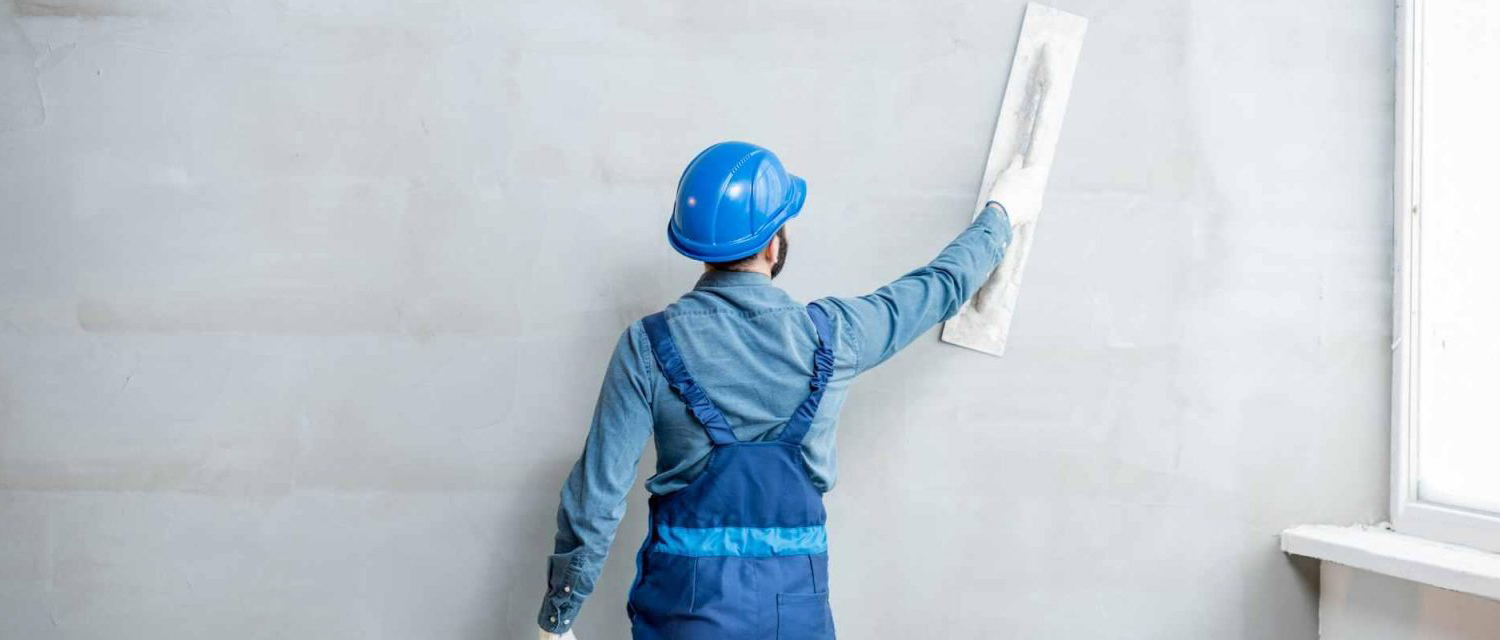
Skimming: Skimming is putting a layer over your wall or ceiling using fine plaster to make it smooth. Usually, this hides flaws.
Wet Plastering: The ‘traditional’ or ‘solid wall' plastering involves applying a mixture of sand, water and cement to the surface. It has three coat processes: scratch, brown and finish.
Dry Plastering: It is done by placing sheets of material such as plasterboard or drywall that are then covered with a thin coat (i.e. 1–2 mm Or upto12 mm thickness) of gypsum-based whitewash before painting the wall surface, except in damp areas like kitchen and shower room where plasters made from cement (a moisture-loving compound), rather than gypsum-based types should be used for sealing porosity on masonry substrate instead before applied emulsion paint system etc. This method is fairly similar to the dry lining, and much quicker (not so labour-intensive) than wet plastering.
5. Timing and Drying
Timing and drying are important factors to consider for successful plastering work. Here’s what you need to know:
Drying Time: Plaster requires time to completely dry before a subsequent coat, and even more when painting or patching. The amount of time it will take to dry the plaster is dependent on which kind of plaster was used, layers applied and weather factors. Usually, it takes around 24 to 48 hours for plasterwork to dry.
Curing Conditions: Make sure that the room is ventilated and kept at a stable temperature to help it dry. If drafts or excessive heat dries the plaster too quickly cracks will result.
6. Common Problems and Solutions
Despite your best efforts to prepare and apply properly, there are common plastering problems you may have to tackle. Here’s how to address them:
Cracking: When improper base coat mixing is combined with other factors such as insufficient surface preparation, rapid drying or building movement, and can cause cracks in stucco. For dings, apply a 5-minute setting compound and allow to dry fully before sanding smooth, if the ding is still visible after drying then repeat the application until it has been filled in.
Blistering: If the plaster is applied too heavily or if you trap air between coats then it can form blisters, and bubbles. Avoiding a blistered plaster surface is easiest when you only apply plaster in thin layers and mix correctly to avoid air bubbles.
Uneven Finish: Inconsistent application or the improper use of tools may cause an uneven plaster finish. You can fix this by sanding the high spots and adding a thin layer of plaster to level out.
7. Health and Safety
Plastering can be a health & safety hazard when utilising certain materials and techniques. Always be sure to remember these points though:
Wear Protective Gear: Wear your safety gloves, protection goggles and a dust mask to protect you from being hazardous by inhaling the dust or touching dangerous materials.
Ventilation: Keep the working area well-ventilated to prevent breathing in fumes from plaster or bonding agents. Feel the winds- open windows or startup fans.
Safe Handling of Materials: Handling the plaster material carefully and with utmost care to avoid any spillage in order not to cause accidents. Always mix and apply according to the manufacturer's instructions for safety.
Do You Know About Automated Plastering Machines?
The use of automated plastering machines is increasing in commercial projects, improving efficiency and reducing labour costs. The integration of advanced technologies like 3D printing with automated plastering machines is starting to influence the plastering industry, allowing for more intricate designs and faster application times.
Conclusion
Plastering is a fun DIY project or professional job to enhance and beautify your home. Once you know that each plaster type has a purpose, and once can understand the basics to coat any surface properly and get yourself equipped with some tools of the trade. Please ensure you are properly equipped and adhere to health & safety and use the necessary techniques for a good finish. Proper planning and execution can allow your plastering project to become a decorative aspect that will also transform the environment of this space. However, hiring a local plastering expert is recommended for ultimate results.


