How to Find Studs in Plaster Walls
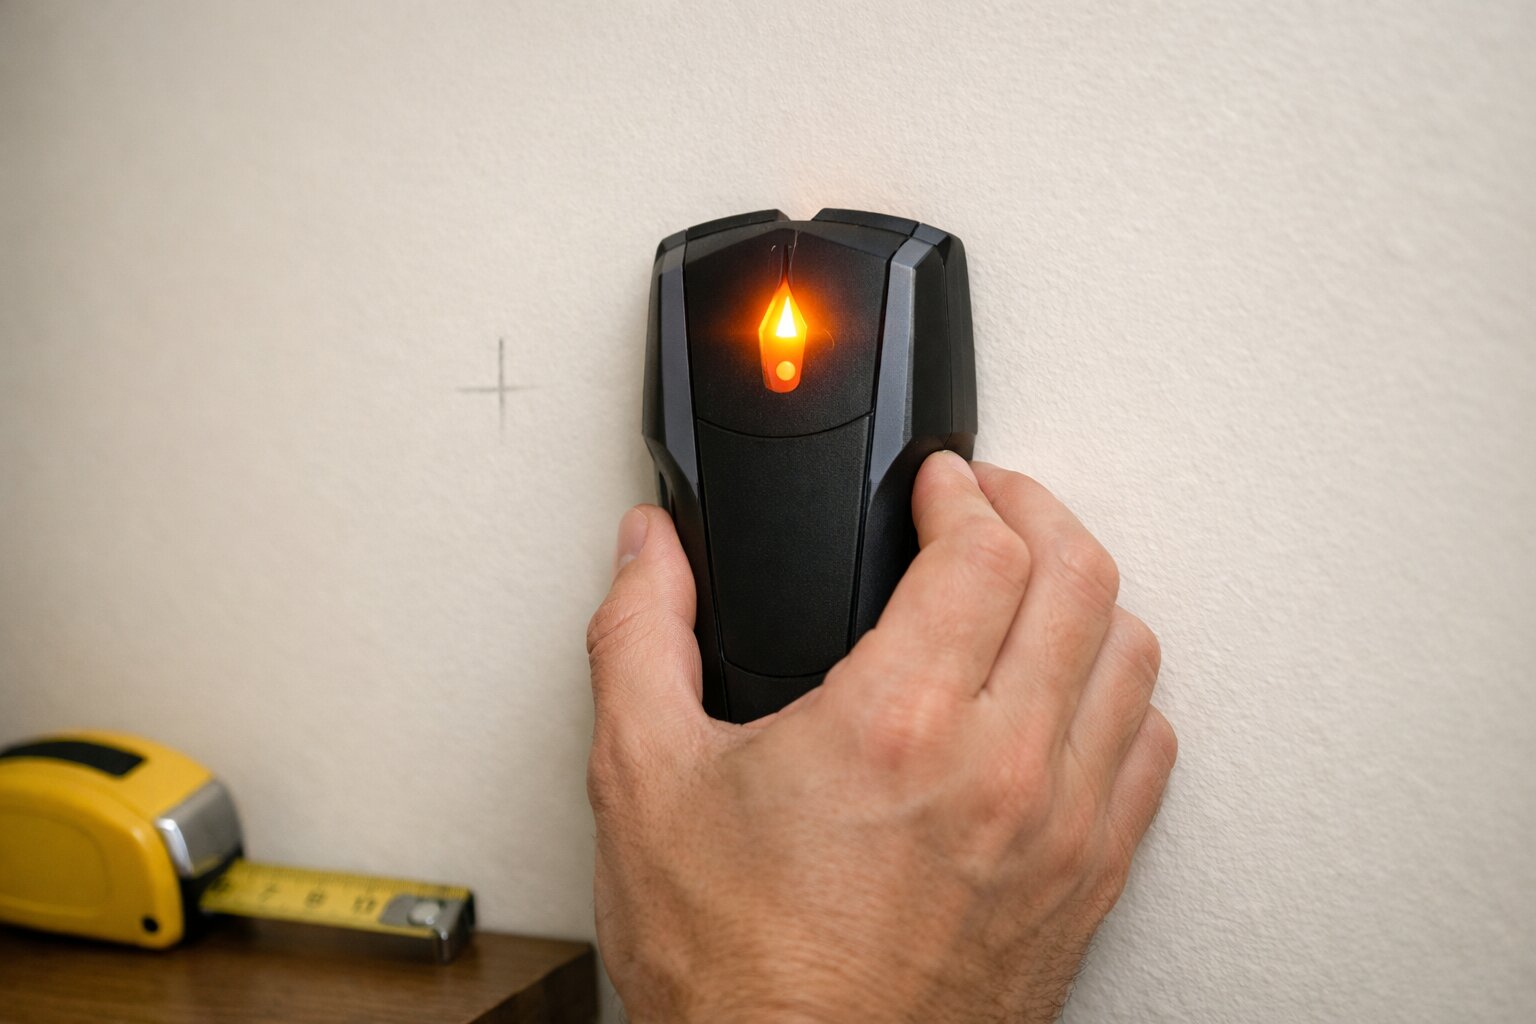
Table Of Content
- Introduction
- Why Finding Studs in Plaster Walls Is Difficult
- Tools You Can Use to Find Studs
- How to Find Studs in Plaster Walls (Best Methods)
- How to Confirm You’ve Found a Stud
- Common Stud Spacing in Plaster Walls
- Tips for Accurate Stud Finding
- Common Mistakes to Avoid
- When to Use a Professional
- Final Thoughts
To find studs in plaster walls, use a stud finder designed for dense surfaces, look for electrical outlets or switches (which are usually attached to studs), tap the wall to detect solid areas, or use a small drill or nail to confirm the stud location. Because plaster walls are thicker and harder than drywall, combining multiple methods often gives the most accurate results.
Whether you are hanging a heavy mirror, mounting a flat-screen TV, or installing new shelving, locating a secure anchor point is critical. This comprehensive guide will walk you through the most effective DIY methods for wall stud detection, helping you secure your fixtures without causing unnecessary damage to your home’s historic or textured surfaces.
Why Finding Studs in Plaster Walls Is Difficult
If you have ever tried to use a basic electronic stud finder in an older home, you likely ended up frustrated by flashing lights and endless false positives.
Plaster walls are harder to scan because of their density and layered structure.
Unlike modern drywall, which consists of a uniform layer of gypsum encased in paper, plaster walls are constructed using a two-part system: lath and plaster. Builders first nailed thin, horizontal strips of wood (the lath) across the vertical wall studs. They then troweled multiple coats of wet plaster over the lath. The plaster squeezed through the gaps in the wood, creating "keys" that held the heavy material in place as it dried.
This construction method creates several distinct challenges for modern stud finders. First, the plaster itself is much thicker and denser than drywall, often measuring up to an inch thick. Second, because standard electronic stud finders detect changes in wall density, the horizontal wooden lath strips behind the plaster constantly trick the device into thinking it has found a wooden stud. Finally, homes built before the 1950s—when plaster was most common—often feature inconsistent stud spacing and older construction methods that don't adhere to today's strict building codes.
Tools You Can Use to Find Studs
To successfully navigate the complexities of lath and plaster, you will need a few specific items in your toolkit. Before you begin your wall stud detection project, gather the following materials:
- Stud finder (deep scan): A high-quality electronic stud finder equipped with a "deep scan" or "plaster" mode. These devices project their sensors deeper into the wall to look past the initial layer of lath.
- Magnetic stud finder: A simple but highly effective tool that relies on strong rare-earth magnets to detect the metal nails or screws buried in the wall.
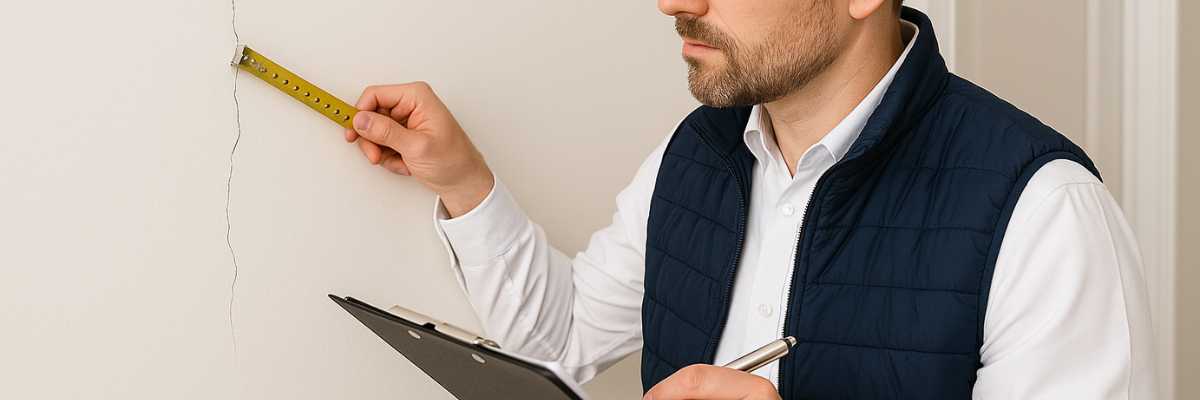
- Measuring tape: Essential for calculating standard stud spacing once you locate your first anchor point.
- Flashlight: Useful for casting a raking light across the wall to spot subtle imperfections.
- Small drill or nail: Used to physically verify the presence of a wooden stud behind the plaster.
- Painter's tape: For marking potential stud locations without staining or damaging your wall finish.
- Inspection camera (optional): A small borescope camera can be pushed through a tiny hole to look behind the plaster if you are dealing with highly complex wall structures.
How to Find Studs in Plaster Walls (Best Methods)
Because lath and plaster can be so deceptive, no single method is entirely foolproof. The secret to how to find studs in plaster walls is to use a combination of the following techniques. By cross-referencing your findings, you can locate studs without damage and proceed with your project confidently.
Method 1 – Use a Stud Finder (Deep Scan Mode)
While basic stud finders struggle with plaster, advanced models with deep-scanning capabilities can penetrate up to 1.5 inches into the wall.
Select a stud finder with multiple density settings and switch it to "deep scan." Place the device flat against the wall, press the calibration button, and wait for it to beep.
Move slowly for more accurate readings on plaster walls.
Slide the device horizontally across the wall at a snail’s pace. If you move too quickly, the sensor will easily be confused by the variations in plaster thickness. When the device indicates an edge, mark it with painter's tape. Continue scanning from the opposite direction to find the other edge of the stud, and mark the center point between the two pieces of tape.
Method 2 – Look for Electrical Outlets and Switches
One of the most reliable ways to find studs without a stud finder is to use your home’s existing architecture as a map. By code, standard electrical outlet boxes and light switch boxes must be securely fastened to a wall stud.
Locate an outlet in the area where you want to mount your item. The stud will be located on either the immediate left or the immediate right side of the plastic or metal electrical box. You can often figure out which side the stud is on by removing the faceplate (make sure the power is turned off) and looking inside the wall gap with a flashlight. Once you know which side the stud is on, you can measure upward to find your hanging spot.
Method 3 – Tap the Wall
Often referred to as the "knock test," tapping the wall is an age-old method used by carpenters to identify the structure behind the surface.
Make a loose fist and gently tap your knuckles against the plaster, moving horizontally across the wall. Listen closely to the resonance. When you tap over an empty bay between studs, the wall will produce a low-pitched, hollow sound. As you move over a solid wooden stud, the sound will abruptly change to a higher-pitched, solid, and muffled "thud." While this method requires a bit of an ear, it is an excellent starting point for narrowing down denser areas.
Method 4 – Use a Magnetic Finder
If an electronic stud finder isn't working, a magnetic stud finder is your next best option. Instead of measuring density, this tool detects the metal nails used to attach the wooden lath strips to the vertical studs.
Sweep the magnet in a wide "S" pattern across the wall. When the magnet passes over a nail head buried beneath the plaster, it will stick to the wall or beep (depending on the model). Because lath is nailed to every single stud it crosses, finding a vertical line of magnetic pulls spaced an inch or two apart is a nearly guaranteed indicator of a stud's position.
Method 5 – Measure from Corners
Wall framing typically follows standard building practices. In most homes, studs are spaced symmetrically from the corners of a room.
Measure exactly 16 inches out from a corner. This is the most likely location of your first stud. Make a small mark, then measure another 16 inches from that mark to find the next one. Keep in mind that corners often have multiple studs sistered together for structural support, so your first measurement might be slightly offset. Always combine this measurement method with tapping or scanning to verify the location.
Method 6 – Drill a Small Test Hole
When you are fairly certain you have found a stud but want to be 100% positive before drilling large holes for heavy mounts, use the finishing nail trick.
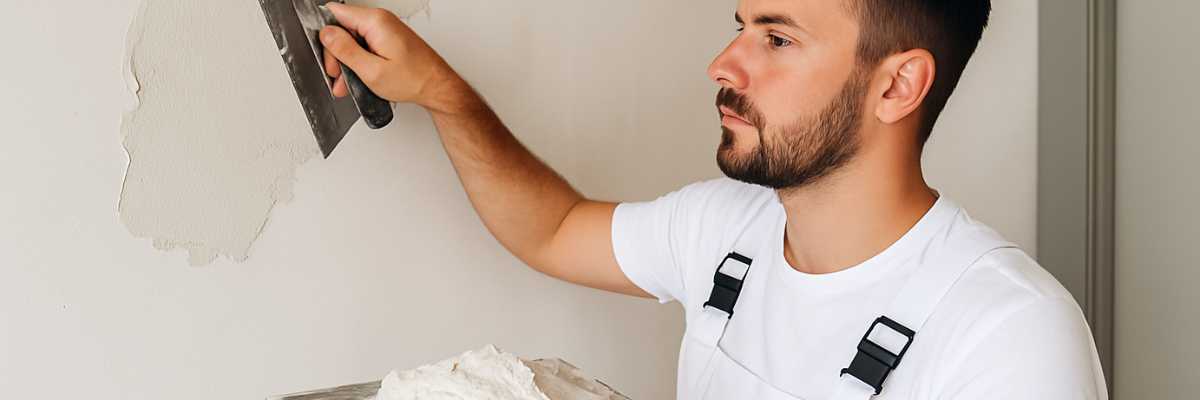
Take a very thin drill bit (1/16 inch) or a long finishing nail and tap it into the wall at your marked location. If it pushes through the plaster and immediately hits empty space, you missed the stud. If you feel continuous, firm resistance and pull out wood shavings on the end of your drill bit, you have successfully hit the stud. Since the test hole is tiny, a simple dab of spackle will make it disappear.
How to Confirm You’ve Found a Stud
Finding what you think is a stud and actually confirming it are two different things. Before you attempt any heavy installations, you need to verify your findings.
The most definitive confirmation is the resistance you feel when drilling. Plaster is hard and chalky, but wood provides a distinct, gripping resistance as a screw or drill bit bites into it. If your drill suddenly pushes through with no resistance after an inch, you have only drilled through the lath, not the main stud.
Additionally, you can confirm your findings by checking for consistent spacing. If you find a solid spot, measure exactly 16 inches to the left or right. If you find another solid feel or magnetic pull at that exact distance, you can be highly confident that you have accurately mapped the wall structure.
Common Stud Spacing in Plaster Walls
Understanding the skeleton of your home makes plaster wall drilling significantly easier. Most residential construction relies on standardized spacing to ensure structural integrity and to accommodate standard building materials.
In the vast majority of homes, studs are spaced exactly 16 inches apart from center to center. This is the golden rule of framing.
However, older homes (especially those built before the 1930s) may feature studs spaced 24 inches apart, or they may have highly irregular spacing. You might find a stud at 15 inches, the next at 18 inches, and the next at 16 inches. Furthermore, windows, doors, and fireplaces disrupt standard spacing, as builders had to add extra framing (king and jack studs) around these openings to support the load.
Tips for Accurate Stud Finding
Mastering DIY wall repair and hardware installation requires patience and attention to detail. Keep these expert home improvement tips in mind to ensure accuracy when dealing with plaster:
- Combine multiple methods: Never rely on a single technique. If your deep-scan stud finder beeps, verify the spot with a magnet, knock on the wall to hear if it sounds solid, and measure 16 inches away to see if there is a corresponding stud.
- Mark multiple points: Don't just mark one spot and start drilling. Find three consecutive studs and mark them all. If they all align at 16-inch intervals, your confidence level can jump to 100%.
- Use proper lighting: Turn off the overhead lights and hold a bright flashlight flat against the wall, shining the beam parallel to the surface. This raking light will reveal tiny dimples, nail pops, or slight vertical waves in the plaster that visually indicate where the lath was nailed to the studs.
- Avoid guessing: Hanging heavy items on lath alone is a recipe for disaster. The lath will eventually pull away from the wall, bringing massive chunks of plaster crashing down with it. Always double-check before drilling.
- Use painter's tape: Avoid drawing on your walls with a pencil, as graphite can easily smear on flat paint or textured wallpaper. Use small pieces of painter's tape to mark your edges and centers.
Common Mistakes to Avoid
When attempting to locate studs in plaster walls, avoid these frequent pitfalls that can lead to frustration or costly damage:
- Relying on one method only: Trusting a basic stud finder blindly will almost always result in drilling into empty wall cavities.
- Scanning too fast: Moving an electronic scanner too quickly over plaster confuses the sensors. Move deliberately and slowly.
- Ignoring wall structure: Forgetting that plumbing pipes, gas lines, and HVAC ducts also run behind walls and can trick stud finders into registering a false positive.
- Drilling without confirmation: Plunging a thick mounting bolt into a wall without using a tiny test drill bit first can cause major plaster cracking.
- Damaging plaster: Using excessive force or dull drill bits can crack the brittle plaster keys, causing the wall to crumble from the inside out. Always use sharp bits and let the drill do the work.
When to Use a Professional
While wall stud detection is generally a manageable DIY task, there are specific scenarios where calling a professional handyman or plastering contractor is the wisest choice.
You should seek professional help if you are dealing with complex wall structures or attempting to hang extremely heavy, dangerous items (like floating vanities, 80-inch televisions, or loaded kitchen cabinets) and you cannot confidently confirm the stud locations.
Furthermore, if you live in a historically preserved home with highly valuable, fragile, or crumbling plaster walls, the risk of a DIY mistake is too high. A professional will have specialized tools, such as thermal imaging cameras or advanced borescopes, to locate structural supports without risking catastrophic damage to your walls.
Final Thoughts
Finding studs in plaster walls can be challenging, but using the right tools and techniques makes the process much easier. Combining methods ensures accuracy and helps avoid unnecessary damage. By taking your time, measuring carefully, and confirming your marks with a test hole, you can confidently and securely hang fixtures in any vintage or plaster-walled home.


Answers to Your Common Questions
Yes, but it should have a deep scan feature. Standard stud finders often get confused by the wooden lath strips behind the plaster. A deep-scanning stud finder or a magnetic stud finder that detects nails is highly recommended.
Using a combination of a magnetic stud finder to locate lath nails and referencing existing electrical outlet positioning is usually the fastest, easiest, and most accurate method for DIYers.
Often, but older homes may have different spacing. While modern building codes mandate 16-inch or 24-inch spacing, homes built when plaster was prominent may feature irregular spacing or varying dimensional lumber.
Yes, but use small test holes carefully. Using a 1/16-inch drill bit or tapping a finishing nail into the wall allows you to feel for the solid resistance of a wood stud without creating a large hole that requires heavy patching.
Because of the thickness of the material and the wooden lath behind the plaster. Since electronic finders measure density, the horizontal lath wood tricks the device into thinking the entire wall is a solid piece of wood.
Yes, most walls are built with studs for support. They form the structural skeleton of the house, supporting the roof, ceiling, and the wall material itself.
Use gentle methods to locate the stud, avoid pressing too hard with your tools, and confirm the stud's exact location before drilling. When drilling, always use a sharp masonry or wood bit and apply steady, even pressure to prevent the brittle plaster from cracking or chipping.
YOU MIGHT ALSO BE INTERESTED IN