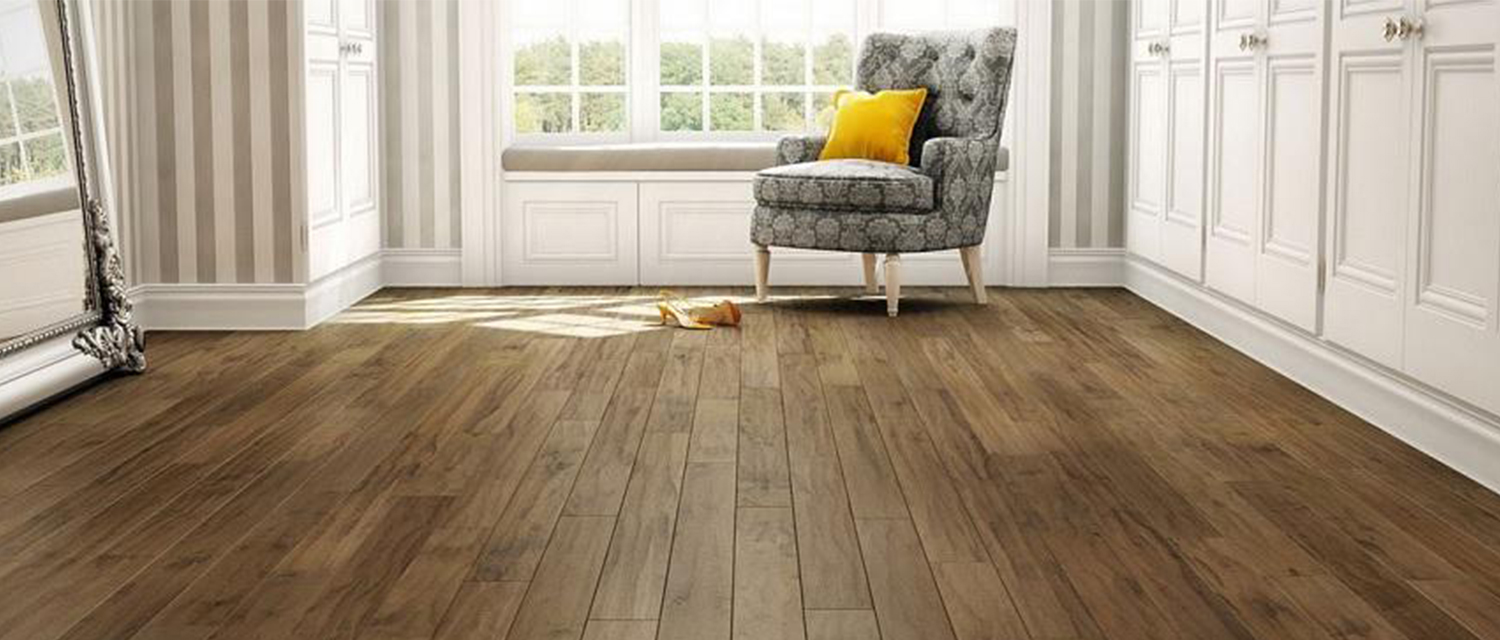
Bringing the timeless beauty of timber floors to your living space is easy with a DIY sanding and polishing project. This guide will take you step-by-step through the process of installing a new solid timber floor or restoring an old one. This comprehensive guide will help you achieve the beauty that timber floors can bring to your home, whether you're a novice or an experienced do-it-yourself enthusiast.
Embarking on the Project: Initiating Your Timber Floor Transformation
Starting a do-it-yourself timber floor sanding and polishing project begins with a critical decision-making process. An extensive assessment of the age, type, and condition of the floor is essential. Whether working with a newly installed floor or attempting to restore an older one, this initial step lays the groundwork for informed choices.
1.New Floor Considerations:
Sanding and polishing a new timber floor is characterized by a simpler process compared to its older counterparts. It's a great job for people who want to add a little more shine to newly installed, often softer wood floors because less abrasive sandpaper is typically used for this purpose.
2.Old Floor Challenges:
There are unique challenges in revitalizing an older timber floor with historical significance. A more thorough approach is required for issues such as undulations, cupping, and remnants of old paint or stains. It becomes critical to select the right sandpaper grit precisely, necessitating close attention to detail. Striking a delicate balance between preserving the history of the floor and enhancing its overall appeal is the aim of the restoration process.
DIY Floor Revival: Tools Every Enthusiast Should Have
To complete your do-it-yourself sanding and polishing project efficiently, it's crucial to assemble the necessary equipment for a seamless workflow. The necessary tools are listed in detail below:
- Drum/Belt Sander: This robust tool is your primary workhorse, ideal for sanding the majority of the floor surface and achieving a consistently smooth finish.
- Flooring Edger or Sander: Specifically designed to reach edges near walls, complementing the broader drum sander and ensuring comprehensive coverage.
- Circular Buffing Machine: Indispensable for buffing and polishing, this tool adds the final professional touches, delivering a refined and polished result.
- Sandpaper: Ensure a variety of sandpaper grits to address different sanding stages, effectively tackling imperfections and preparing the surface for subsequent treatments.
- Mesh Screen: Tailored for the circular sander, this sanding disk enhances the finishing process, providing an exceptionally smooth and refined surface.
- Hammer and Hole Punch: Vital for countersinking protruding nails, particularly on floors with a top nail profile, preventing damage to sanding equipment.
- Industrial Vacuum Cleaner: Invest in a robust vacuum cleaner with efficient dust collection capabilities, maintaining a clean and safe workspace during the sanding process.
- Microfiber Mop: Post-vacuuming, employ a microfiber mop for a thorough wipe-down, ensuring the elimination of any lingering dust particles and priming the floor for subsequent project stages.
Punching Nails for a Smooth Surface
- Risk Reduction: Protruding nails pose a threat to sanding equipment, risking damage and project delays.
- Thorough Inspection: Examine the floor surface meticulously, focusing on areas where floorboards meet.
- Essential Tools: Arm yourself with a hammer and a hole punch to effectively countersink nails.
- Methodical Approach: Work systematically, addressing one row or section at a time.
- Precision Matters: Gently tap down nails, ensuring they are below the surface for a smooth finish.
- Avoiding Damage: Exercise caution to prevent any harm to the surrounding wood.
- Optimal Preparation: Creating a smooth surface sets the stage for successful sanding and polishing.
Sanding Timber Floors: A Symphony of Grit and Precision
The sanding process rejuvenates timber floors by systematically removing imperfections and old finishes. It involves using different abrasive material grits to achieve a smooth surface and laying the stage for floor restoration's polishing and finishing stages.
For New Floors
- Start with Coarse Grit: Begin with coarse-grit sandpaper (40-60 grit) at a 45-degree angle.
- Butt Joins and Putty: Address butt joins, and if needed, apply putty between the joins. Allow 30 minutes for the putty to dry.
- Edge Sanding: Use an edge sander with 60-80 grit around the edges.
- Finer Grits: Progress to finer grit sandpapers (80-100) and sand in the direction of the grain.
- Circular Buffing Machine: Use 100-120 grit paper on a circular buffing machine to smooth the entire area.
- Vacuum and Tack Cloth: Thoroughly vacuum the floor and use a tack cloth to prepare for finishing.
For Old Floors
- Start with Coarser Grits: Old floors with imperfections may require starting with 40 grit or even lower.
- Medium Grits and Edge Sanding: Progress to medium grits (60) and use an edge sander. Adjust the grit based on the floor's hardness and damage.
- Putty and Finer Grits: Fill nail holes with putty, allow it to dry, and then sand with finer grits (80-100).
- Use Orbital Sander: In challenging areas, utilize a mini orbital sander for additional smoothing.
- Circular Buffing Machine: Finish with 100-120 grit paper on a circular buffing machine.
- Vacuum and Tack Cloth: Thoroughly clean the area in preparation for finishing.
Choosing the Right Finish Products
The choice of finish plays a crucial role in the overall look and durability of your timber floor. Consider the following options:
- Polyurethane-based Products: Known for a glossy finish, but be cautious about UV stability and potential toxicity.
- Water-Based Products: Environmentally friendly with improved clarity. Less toxic compared to polyurethane.
- Hard Wax Oil Finishes: Provides a warm, natural finish, less toxic, and easy to repair. Ideal for a DIYer.
New Timber Floor Finish Application: Pro Techniques and Tips
- Acclimatisation Awareness: Start by learning how flooring changes with the seasons.
- Product-Specific Application: Use the roller per the instructions on the container, but treat it like painting a floor.
- Edge Cutting with Precision: Use a brush for edges unreachable by the roller.
Choose the Right Roller: Opt for a 10mm Nap microfiber roller for thick water-based finishes.
- Avoid Over-Rolling: Apply finishes in small strips to prevent unevenness.
Maintenance and Curing
- Allow the floor to cure fully, which may take around ten days.
- Avoid dragging furniture during the first two days when the floor is more susceptible to scuff marks.
- Reinstall furniture with felt stoppers on the bottom to prevent scratches.
Floor Maintenance Essentials: Post-Polishing Care Tips
- Vacuum or sweep before mopping.
- Use specific cleaning products based on the floor finish.
- Consider periodic light buff and coat treatments every 2-3 years for long-term preservation.
Conclusion
The process of sanding wooden floors and floorboards is labour-intensive, but it can greatly enhance their beauty and longevity. You can achieve professional-looking results by transforming your timber floors into timeless masterpieces by understanding the unique needs of new and old floors, selecting the right equipment, and choosing the right finish. Enjoy the journey of transforming your timber floors into timeless masterpieces!


