How to Plan Your Exposed Aggregate Driveway Project
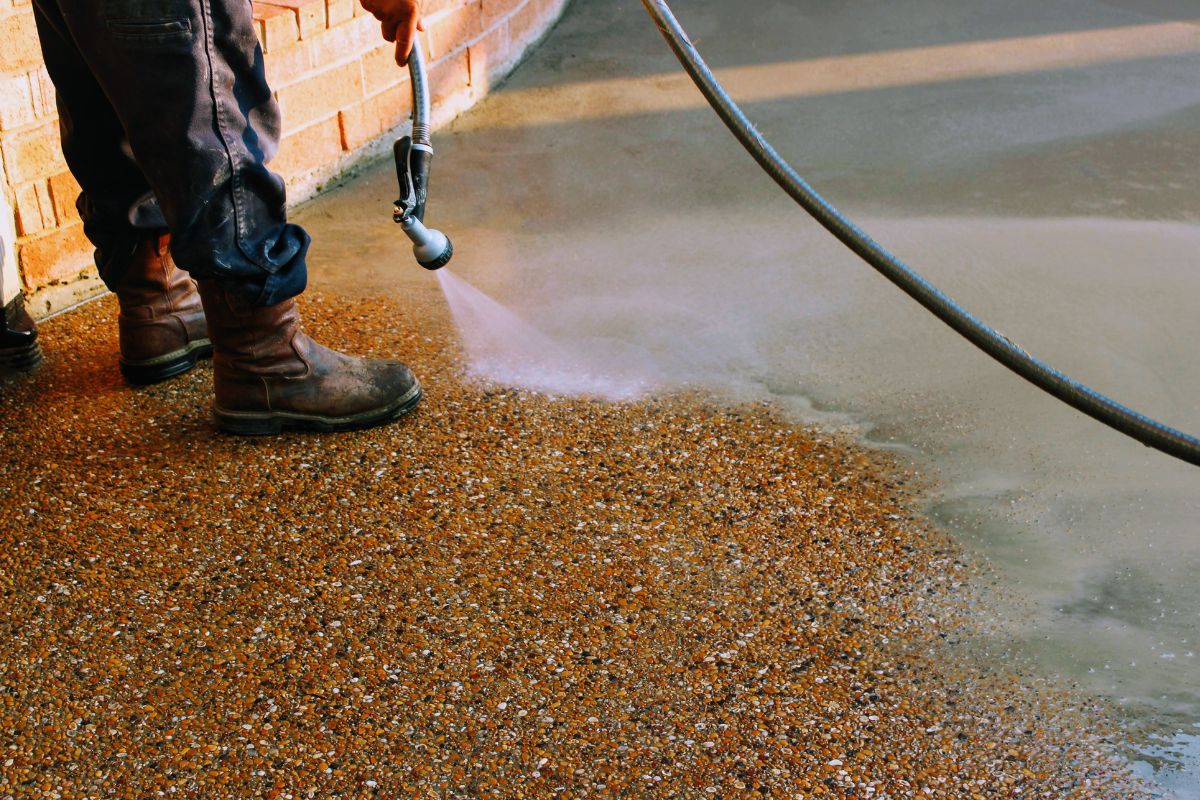
Table Of Content
- Introduction
- Assessing the Site
- Excavation
- Setting Up the Wooden Formwork
- Placing the Steel Reinforcement Framework
- Preparing the Concrete Mix
- Exposing the Aggregates
- Creating Control Joints
- Applying Sealer
- Conclusion
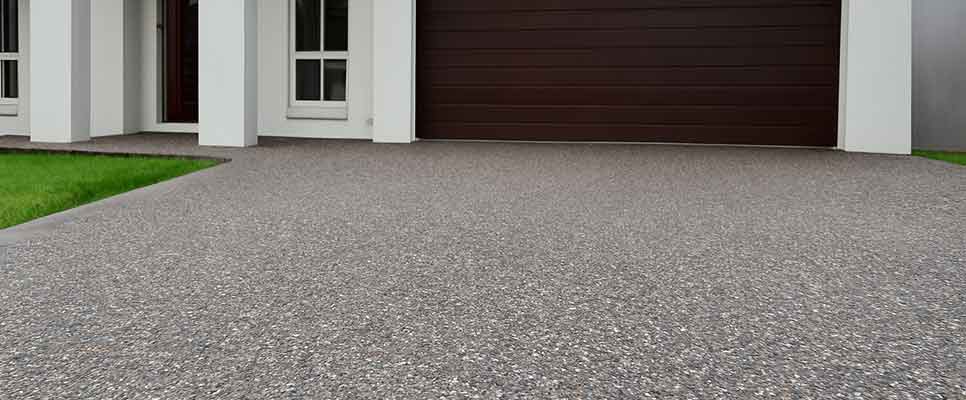
If you want to add value to your home and are planning on developing a long lasting and visually appealing driveway, then an exposed aggregate driveway would be ideal for you. This type of driveway is functional and stylish at the same time, as it produces a non-slip surface because decorative materials like pebbles, stones or gravel are exposed. But as earlier stated creating an exposed aggregate driveway is not easy and it involves several other stages that will require some ideas, tools, and approaches.
Exposed aggregate is a popular choice of finish for the driveway. This blog will guide you from the stage of surveying right up to the sealing of the exposed aggregate driveway. Let’s dive into the essential steps.
1. Assessing the Site
To effectively manage any construction project, its planning involves such factors as the land in question. Measuring the area you wish to build your driveway is important because it would determine whether the ground is flat enough or whether it needs some grading. This will improve drainage and the life of your driveway as well.
Key Aspects to Consider When Surveying
- Size and Shape: Take your time and find out how big the particular area that you want to put your driveway is. Attention should be paid to the presence of various elements of the territory and outdoor objects such as trees, fences, and slopes, as well as to compliance with the type of the driveway’s lines with the overall layout of the territory.
- Slope and Drainage: One of the things you need to get right to avoid water accumulation in Your driveway is proper drainage. Even more preferably the driveway should be designed with a gradient (commonly a gradient of 2% to 5%) so as to enable the water produced to run off the surface.
- Soil Conditions: Another factor that prevents a good standing for your driveway is the kind of soil in the area where you will be constructing your driveway. For instance, clayey soil is usually characterized by water retention while sandy soil leads to shifting.
- Access Points: Consider how travel will occur to your driveway, especially for vehicles. Make sure that the driveway will be able to meet the cars and also easy for entry of vehicles into the compound.
2. Excavation
Geographical surveying is the actual digging of the surface of the land in question to form a hole. Preparing the site involves clearing the site of the existing soil, grass, debris and worn-out pavement to make way for the gravel base for putting in the new driveway.
Key Considerations in Excavation
- Depth of Excavation: A standard exposed aggregate driveway requires excavation of the area to a depth of 6 to 8 inches. If your ground type is mushy or if there is a lot of movement here then you may have to dig a little more.
- Removing Organic Material: Organic content that includes grass, weeds or plant roots, among others, should be taken out completely from the area. Over a period of time, these materials can break down unevenly and your driveway will be uneven. If you let them be, then the driveway might open up or break in a way you never could imagine.
- Proper Drainage: When excavating, be very careful especially when it comes to the grading of that particular area. It has been said that the layout of the driveway should be slightly inclined so that any water will drain away from the surface. This must be achieved by using a shovel, rake or power grader to level the ground to a preferred slope that is constant.
- Compacting the Soil: Subsequently, compact the soil to allow for a solid ground to place the next materials to be dug into the ground. A mechanical compactor or hand tamper will help get a solid pack for the base which reduces the issue of shifting and settling.
3. Setting Up the Wooden Formwork
Well, since that is where the ground stands right now ready and level for a construction project, what comes after that is preparing the formwork. Casting is the method being used in the construction and formwork is the temporary structure that will support the concrete once it is poured in position. For this reason, wooden formwork is used often.
Crucial aspects of formwork:
- Dimensions of the Driveway: The formwork should be to the dimensions that you want your driveway to be, either in width or depth. Stake out the area, using stakes and wood and then line it with wooden boards so that the edges of the line are sharp and straight.
- Levelling the Formwork: It also has to be smoothly levelled formwork so that your driveway may be evenly levelled. Level or string line should also be applied to ensure that the forms do align correctly. If the formwork is not level the concrete will not pour itself at a level platform thus is able to result in a bumpy concrete floor.
- Strength and Stability: Fix the wooden boards firmly on the base to allow it to support the pressure it will be having after the concrete is put in. If the area of the driveway is large you may require a little more support, to keep the formwork stable at the time of pouring the concrete.
- Allow for Expansion: Use little spaces to the formwork and ground to ensure expansion of the formwork as concrete sets. This will help the driveway to keep its straight position and not crack due to the expansion of the used material.
4. Placing the Steel Reinforcement Framework
This is where the strength and durability needed for exposed aggregate driveways are provided; in reinforcement. Steel reinforcement in its various forms begins with the feature of rebar or welded wire mesh that is placed in the concrete to prevent its cracking as well as to enhance the load base that it can carry.
Key Factors for Steel Reinforcement
- Choosing Reinforcement Material: Rebar is by far the most used type of reinforcing steel. Domestic compacted earth driveways require different thicknesses of rebar: 3/8 to ½ inch will suffice. However, if more strength is required then the welded wire mesh can also be used to cover it up.
- Placement of Rebar: Rebar or mesh should be positioned at a depth of ¼ to ½ inches below the topside of the concrete slab. It is possible to link the bars by wire or space them using rebar chairs so that they retain the right position during the pour.
- Spacing and Configuration: Make sure the spacing of the rebar across the field containing the driveway is uniformly done. The bars should be arranged such that they form a grid and these should be appropriately 12 inches apart. This contributes to spreading pressure over the surface and thus reduces future cracking.
5. Preparing the Concrete Mix
Selecting concrete mix for exposed aggregate driveway surface plays an important role for serviceable and attractive sidewalks. The concrete must be able to bear the pressures produced by the vehicles yet fine enough to expose the aggregates.
Elements to Consider When Handling Concrete Mixing
- Concrete Mix Ratio: In producing exposed aggregate concrete, the recommended proportion is 1:2:3 of cement, sand and gravel respectively with water of 0.5. The mix proportions should be prepared in such a way that it gains a compressive strength of not less than 3000 PSI (pounds per square inch).
- Additives for Workability: To enhance the workability of concrete, you might use plasticizers or retardants depending on the amount of time you have for the concrete setting.
- Consistency: The key issue for concrete mixes is consistency. It should be sufficiently stiff to retain the aggregates within it, whilst at the same time be sufficiently fluid to fill the formwork and exclude the formation of air voids. It also must not be too dry or too wet for an optimal ratio to be produced.
- Mixing Options: In small construction works, concrete can be prepared in the wheelbarrow or through a concrete mixer. For big jobs, it may be better to have the concrete delivered from a concrete supplier to guarantee quality and ease of application.
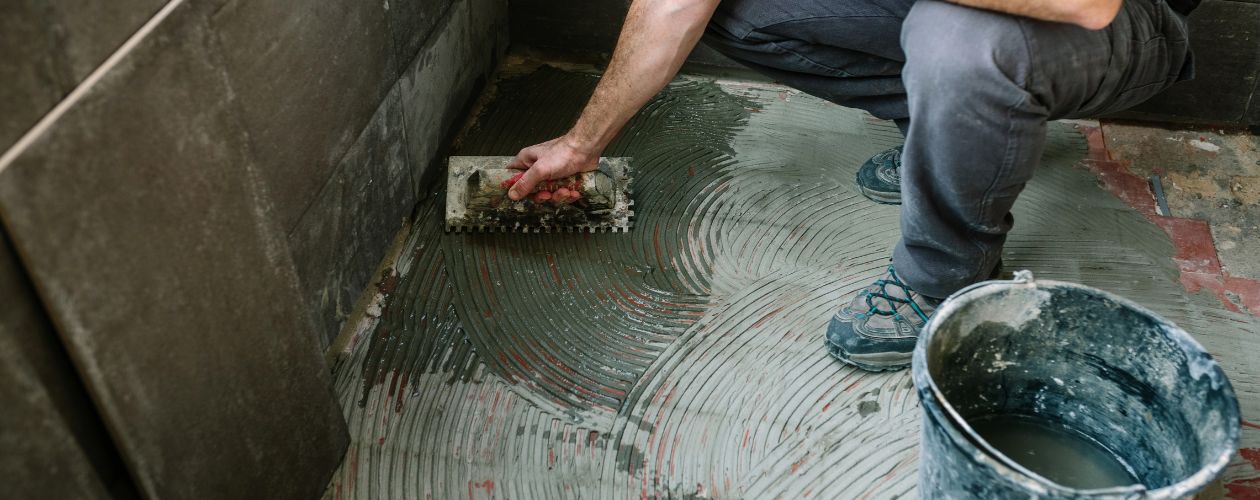
6. Exposing the Aggregates
Exposed aggregate driveways are different from other driveways in so far as the stones and pebbles are visible on the surface. For these aggregates to be displayed, then the concrete is poured and afterwards, the top layer is peeled off to make way for the stones.
Factors to consider when exposing aggregates:
- Pouring the Concrete: After the concrete has been well mixed and is ready for placement, place it on the formwork and make sure that the surface has been evenly covered. Scrape and sweep the concrete to a flat surface with a shovel or rake and put away the remnants.
- Surface Treatment: When the concrete has been poured one is supposed to wait until the concrete is set and become a little strong. This is often after 1 to 2 hours. After the surface starts to harden, it is possible to apply a surface retarder, this is a chemical solution that slows down the curing of the surface layer.
- Washing and Scrubbing: After the retarder has worked, you should wash off the surface with high-pressure water to remove the outer layer of new mortar and the exposed aggregates will remain. Take some time to wash the surface carefully so as not to harm exposed stones.
7. Creating Control Joints
Expansion joints are used to control the ingressive and egressive movement that is characteristic of concrete. These joints enable the concrete to crack in a more manner than letting ugly joint cracks traverse the overall driveway.
Principal Factors for Jointing Cuts:
- Spacing and Depth: Control joints should be sawn at certain distances apart, preferably at an interval of 10 to 12 feet. The thickness of the joint should not be less than a quarter of the concrete thickness to enable the joint to perform its tasks.
- Timing: The next step, which is cutting the joints, should be carried out immediately after the concrete has gained some strength to hold it into shape but at the same time have a relatively weak surface for the cutting to be done on. This usually occurs after 6 – 12 hours after the concrete has been poured.
- Tools for Cutting: There are two general techniques used in making the cuts for the joints; you may use the concrete saw or even a handheld power cutter. Ensure that the joints are upright and aligned as a professional touch should always be achieved.
8. Applying Sealer to the Exposed Aggregate Driveway
The last in your exposed aggregate driveway is sealing. Coating the driveway also adds beauty to the aggregates but also helps in avoiding the accumulation of dirt and stains on the surface as well as from the harsh weather conditions.
Factors That Precipitate Sealing:
- Choosing the Right Sealer: Choose a sealer for exposed aggregate concrete that will be resistant to UV light and withstanding traffic and exposure. There are two types of sealers: penetrating sealers, and topical sealers.
- Application Method: Using a sprayer or a roller spread the sealer uniformly over the surface of the driveway. Always go by the instructions provided by the manufacturer on how long a surface should dry before you apply the paint and how many coats you need to apply.
- Maintenance: Driveway sealing is useful in preventing deleterious impacts on the surface but it has a short lifetime and should be recoated after 1-3 years given different traffic operations and exposure rates.
Conclusion
Imposing an exposed aggregate driveway needs a lot of planning and undertaking. So when surveying the land, doing the excavation, formwork, reinforcement, concrete mixing and pouring, exposing the aggregates, cutting control joints, and sealing the surface you are assured of a beautiful and long-lasting driveway. It will be time well spent if every step laid down in this project is implemented thoroughly to arrive at a well-designed and more beautiful driveway that will not only make the home stand out but also a surface that will be tough, durable and low on maintenance. Happy paving!
YOU MIGHT ALSO BE INTERESTED IN