

Get free quotes
Get free quotes within minutes

Wall panels are a good method of adding an extra dimension to any room. They are available in many types of materials, shapes, colours, and sizes therefore one is in a position to make a certain choice. It may sound like an intensive process to hang the wall panels but if you are armed with enough tools, suitable materials and time that most people lack, you are sorted enough to start a wall panelling project. This comprehensive guide shows you how to install great wall panels with a professional look.
When choosing wall panelling, it's important to consider aesthetics and functionality. From natural materials to modern innovations, here are popular wall panelling options to elevate your space, whether you’re learning how to do panelling on a wall or looking to refresh your home’s style.
Timber Panels: Timber panels bring warmth and character to any room. Available in a variety of wood types like oak, pine, and cedar, these panels are perfect for creating a natural, rustic, or contemporary look. Timber also offers excellent durability and insulation properties, making it a timeless choice for many homes.
MDF Panels: Medium-Density Fiberboard (MDF) panels are a cost-effective and versatile option. They can be easily painted or finished to mimic more expensive materials like wood or stone. MDF panels are lightweight, easy to install, and a popular choice for creating smooth, seamless walls with minimal effort.
Acrylic Panels: Acrylic wall panels are sleek and modern, offering a glossy, high-end finish. Known for their durability and water-resistant properties, they are ideal for kitchens, bathrooms, and other high-moisture areas. Available in a range of colours and patterns, acrylic panels can add a bold, contemporary statement to your walls.
PVC Panels: PVC panels are a lightweight and affordable option for those looking for easy-to-maintain wall coverings. They are moisture-resistant, making them perfect for damp areas such as basements or bathrooms. PVC panels come in various designs, including wood, marble, and stone effects, offering versatility without compromising on style.
Fabric Panels: For a luxurious and cozy feel, fabric panels are an excellent choice. Typically used in bedrooms or living spaces, they provide texture and warmth while improving the room's acoustics. Fabric panels are often padded, offering both comfort and a touch of elegance to interiors.
Acoustic Panels: Acoustic wall panels are designed to reduce noise and improve sound quality in a room. Made from materials like foam, wood, or fabric, these panels are perfect for offices, home theatres, or music studios. They combine practicality with aesthetic appeal, coming in a range of styles and finishes to suit any décor.
Each of these wall panelling options offers unique benefits, allowing you to create a space that’s both functional and visually stunning.
Before you start, gather the following materials and tools:
Installing wall panels at home can seem daunting, but with the right tools, you can learn how to do panelling on walls in just a few simple steps.
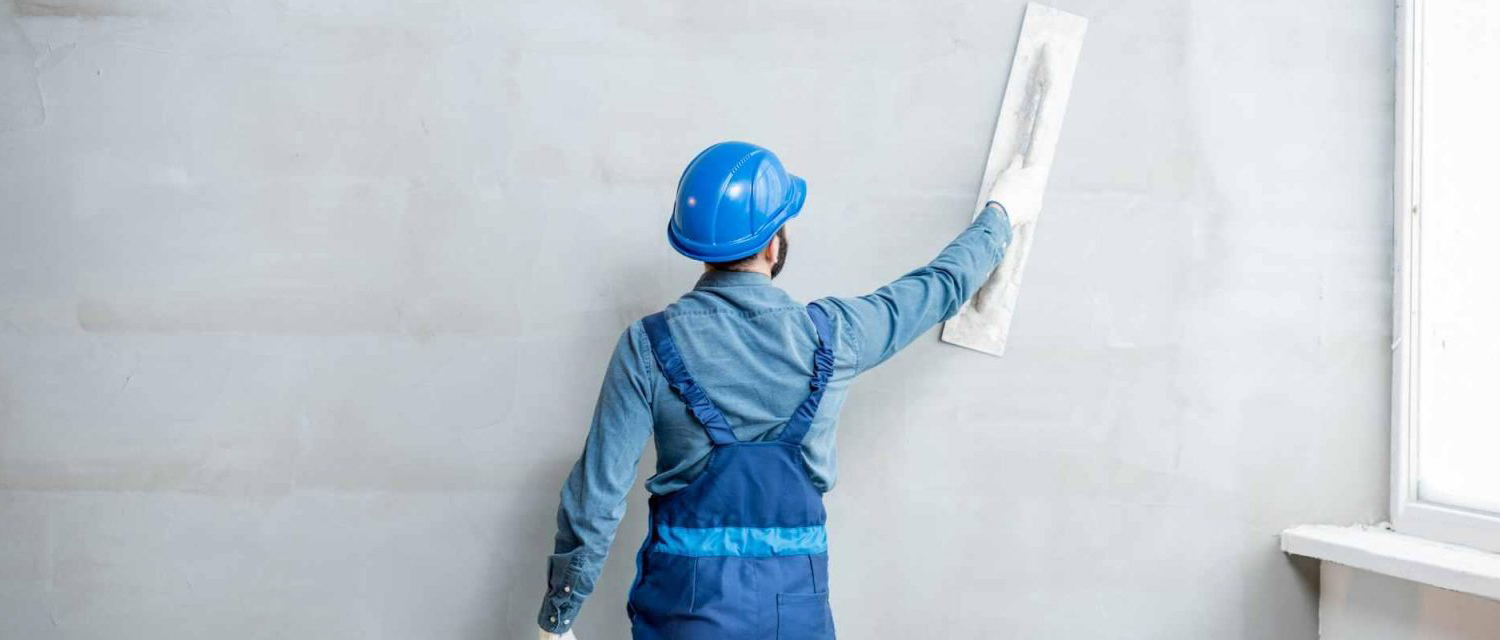
Walls are the first element of a structure that is exposed to the external environment. Therefore these are the first surfaces potentially vulnerable to air and moisture penetration. The first step of wall panel installation is the preparation of the walls. This should be firstly done by preparing the wall that the panels are to be located at. This involves:
Cleaning the surface: Ensure the wall surface is clean; do not let it have any dirt such as dust, dirt and grease. After that, you need to carefully wash the surface with a damp cloth.
Removing obstacles: Take out any cover on an electrical outlet, light switches and other fixtures that may have been installed. It’s therefore advisable to switch off the power supply to these outlets to avert any mishaps.
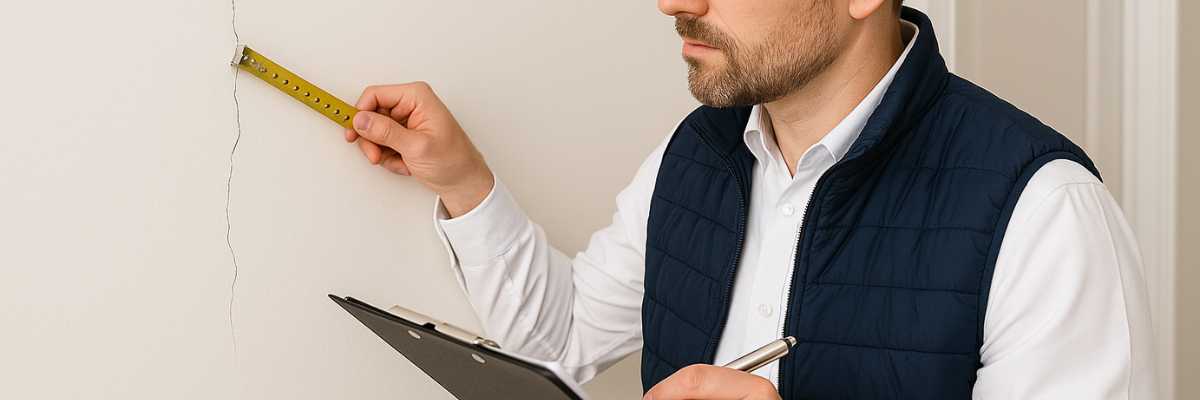
Accurate measurements are crucial for a professional-looking finish:
Measure the wall: A measuring tape is used to measure the height and the width of the wall that will be ideal for this type of wall. Write down these measurements.
Plan the layout: Choose the arrangement of your panels for the presentation. To be more precise, you are free to choose a vertical orientation, a horizontal orientation or possibly an oblique orientation. Care should be taken on how the panels will fit on the wall in case one has to cut the panels.
Locating the wall studs will provide a secure base for your panels:
Use a stud finder: Now it is necessary to run the stud finder along the wall to determine the places of the studs. Make sure that you mark each of the studs with a pencil so that you have a clear guide when fixing them.
Verify the studs: You should use a level to make sure that your marks are straight and in line.
The panels have to be further cut to create recesses that would hold the LED lights.
Measure the panels: Depending on your wall dimensions, adjust yourself to where you need to place the cuts on the panels.
Cut the panels: Based on the dimensions established, cut the panels by using a circular saw or a jigsaw with a lot of precision. To avoid getting yourself injured, it is recommended to put on safety glasses and gloves that will shield you from particles.
The next procedure that is followed is sanding the edges of the wood to smoothen it.
Sand the cuts: Sand the cut edges of the panels to make them as smooth as possible, using sandpaper. This shall ensure that the two complement each other so that they can be of much use in the organisation.
Construction adhesive provides a strong bond between the panels and the wall.
Apply the adhesive: For this process, it is recommended to use a caulking gun and apply as much construction adhesive to the back of the first panel as possible. It is advisable to spread the adhesive in a zigzag manner to ensure there is an even spread.
It is suggested to start attaching the panels at the upper central point of the building and then install the other four points of the building respectively.
Position the panel: Carefully fix the first panel on the wall placing it appropriately in line with the marks made on the wall. Apply it firmly to guarantee the adhesive has good contact with the wall’s surface.
Secure with nails: The panel has to be fastened to the wall; this can be done by using a nail gun or using nails by hammering. After this, you need to hammer the nails to the studs as a method of ensuring that they are well anchored. Nail the panel about 6-8” apart on all edges and panel lengthwise centre.
Continue installing: As in the case with the earlier panels, align the subsequent panels making sure that they are all of equal height and correctly aligned.
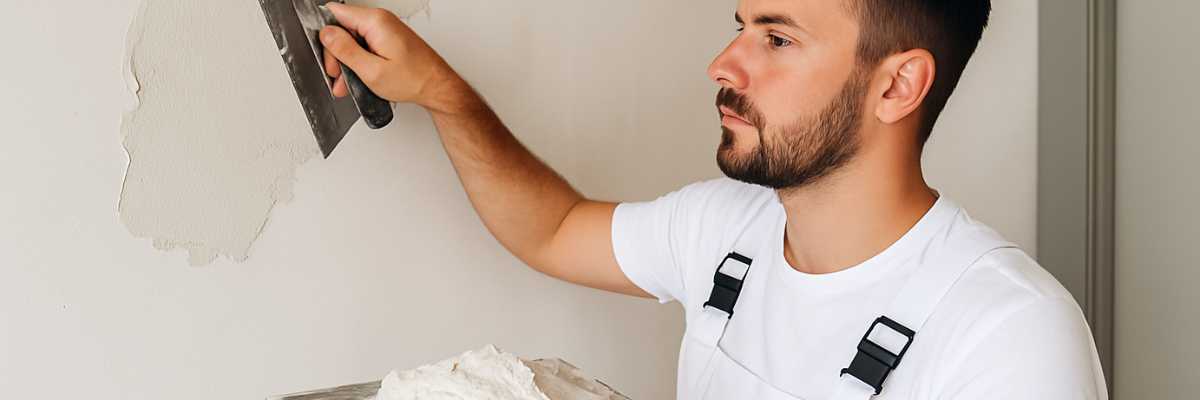
The eighth task is performed to eliminate the gaps in the structure of joints in a continuous wall or to minimise the visible seams.
Fill gaps: This implies that when installing the panels in any room, one is supposed to ensure that any joints or any other gaps are covered by caulk. Finish the work with a nice touch by smoothening the caulk over with the flat of your hand, or a specific caulk tool.
Let it dry: Since caulk is humidifying it is good to leave it to dry for a few hours as recommended by the manufacturer.
Finish your wall panels to match your decor:
Prime the panels (if needed): If your panels need painting then use first a coat of paint to get a better surface for the paint to stick on. It may not apply to pre-finished or laminated panels for instance.
Paint or stain: Use the paint or the stain which you have selected to paint them. It is used with a brush or a roller to achieve a uniform layer to the substance. Depending on the end that is sought, several coats of the solution may be required.
Let it dry: The painting or staining of the furniture should be done successively and this should be done after waiting for the paint or stain to dry up.
Replace any removed fixtures:
Reattach outlet covers: If you took off any electrical outlet covers, switch plates or any other fixtures that ‘lacked decorum ‘ at the beginning of this process, replace them.
Touch up: To make final fine-tuning you can make the necessary corrections for shampooing, conditioning or colouring.
The use of panels on the walls of your house can enhance the appearance of the wall and make it the center of attraction. If these are taken into consideration and time is taken to ensure that the panels are measured, cut, and installed in the right manner, then one can guarantee a professional job that will add to the beauty of the property. Additionally, enlisting a plasterer to handle any plaster repair or preparation work ensures that the surface is smooth and ready for panel installation. No matter what design people decide to select—modern, rustic, or traditional—wall panels can be trendy and elegant at the same time.
For a seamless and user-friendly interface, you can download our official app available for both Android and iOS users. Get more features in the app.


