What Architrave is and How to Install It?
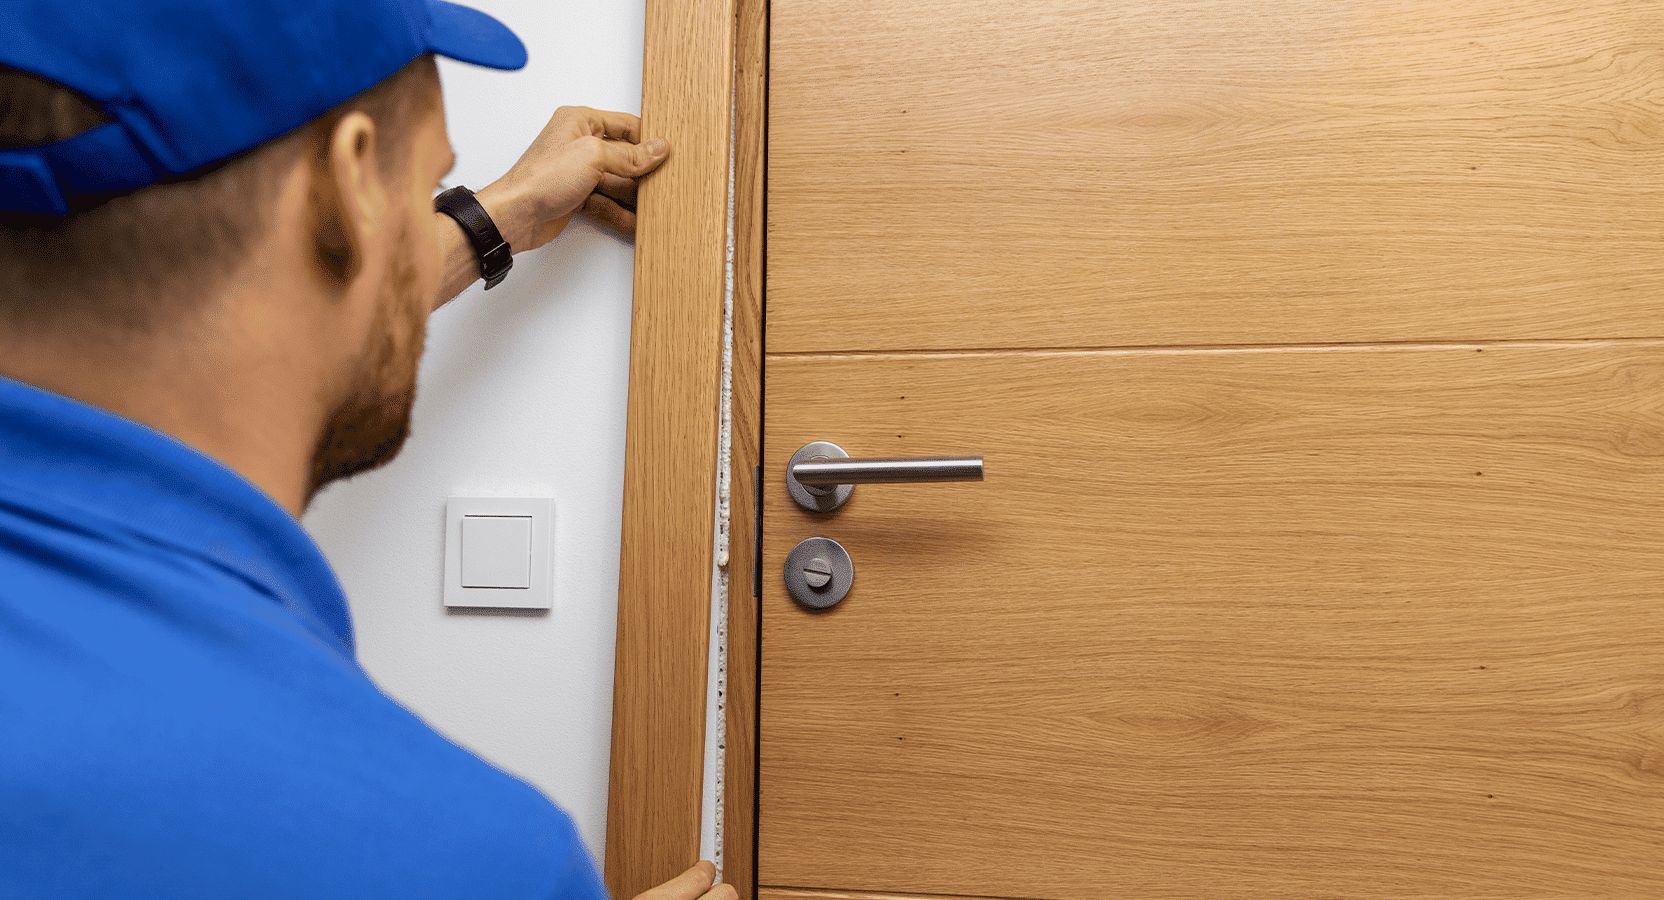
Table Of Content
- Introduction
- What is Architrave?
- Tools and Materials Required Architrave Installation
- How To Install Architrave?
- How To Install Bottom Architrave?
- How To Install Side Architraves?
- Conclusion
Architraves work as decorative and functional elements of architectural design. They are the decorative elements which include the doorways and windows borders as well as other openings. This guide will outline what architrave is and how to install it in a step-by-step process.
What is Architrave?
Architraves are coming out around windows and doors. They differentially play various roles which include concealing minor imperfections at the intersection of frames and walls, protecting door frames from assault, and upgrading the entire space. They are available in multiple materials like hardwood, softwood or MDF and they can be conveniently adapted to the design taste of any interior environment. For wooden doors, many homeowners prefer to hire skilled wooden door carpenters who can ensure precise fitting and seamless integration of architraves.
Besides this fact, architraves play a beautiful role in decorating the space causing some useful functions. The cover of the joints and seams by the use of architraves will ensure that the finish is the continuation of a smooth surface and that the damage caused by temperature fluctuations and vibrations is prevented. On the other hand, they prevent door frames from bumping into, thereby strengthening door frames to be sturdy.
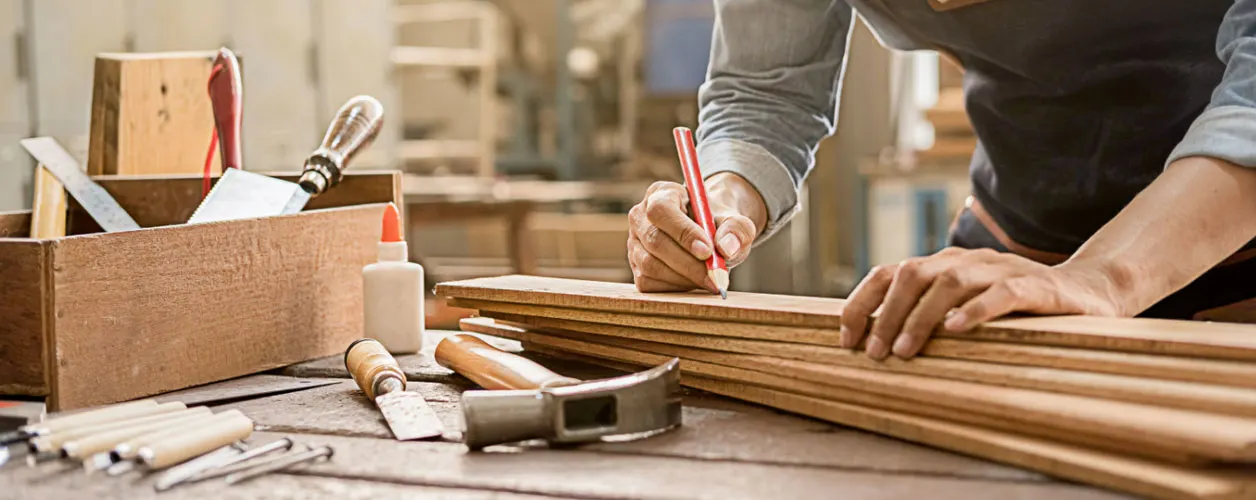
Tools and Materials Required Architrave Installation
Get the equipment and supplies needed before starting the installation process.
- Architraves (along with the skirting boards to ensure an overall consistent design).
- Pencil
- Tape measure
- Hacksaw
- Angle or square finder.
- Mitre saw
- 30-50mm nail gun.
- Wood gluing or mitre joints (as required).
If you're not confident with tools or mitre cuts, carpenters or handyman carpenters can help you complete the job safely and efficiently.
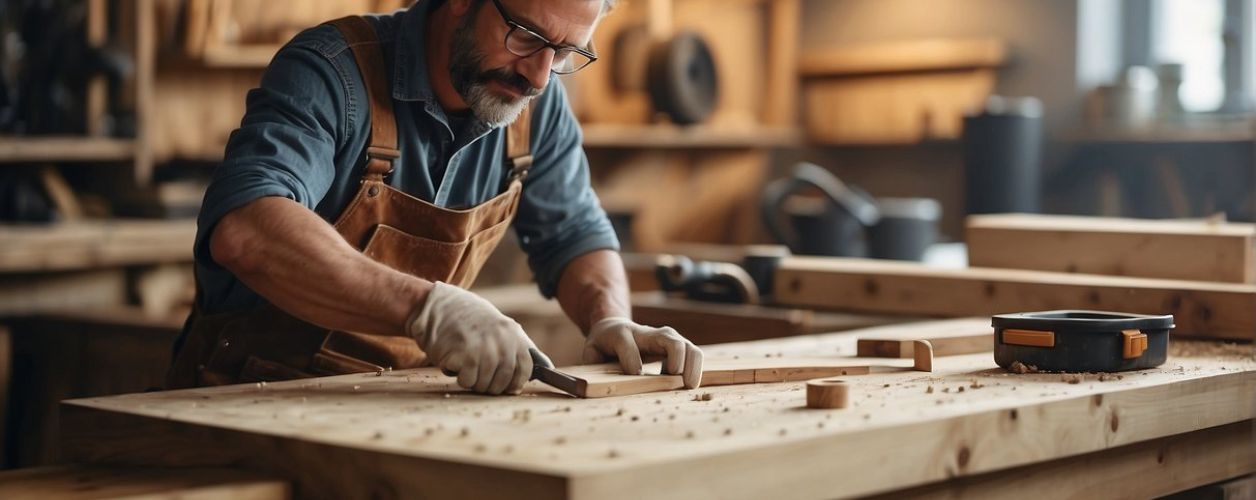
How To Install Architrave?
You must check this architrave installation guide for effective work.
Marking the Quirk
Initially, you will be required to put a line at the point where the quirk is between the window reveal on the inside edge and the architrave on the inside edge. This is about 5mm; however, the size may be for instance some unique functions.
Measuring and Cutting Mitres
Determine the length of the architrave by measuring the space between the joints. Measure and cut a 45-degree mitre at each end of the architrave with a 5mm increase in the distance.
Positioning and Nailing
Place the architrave doing a fitting to the bottom mitre cut with the bottom quirk intersection point. Set the architrave into its nails to keep them level with the points of the quirk.
Trimming and Fitting
Cut off the top mitres to the quirk where it crosses with the intersection of the mitres on the top point and ensure that the top corner of both mitres is sharp and true to the point. Make sure that the trimmer snuggly fits into the moulded spot and correct the mitre saw when necessary.
Repeating the Process
Repeat the steps for the remaining sides, cut the architrave according to size and fix it to the support with glue and nails. Clear off any extra glue and sand the architraves after painting.
How To Install Bottom Architrave?
After you successfully do the main parts of your architrave installation, now you'll focus on the bottom and side pieces that will complete your spectacular look.
Step 1: The Measure Window Reveal
Divide the inner dimension of the window case (the part where the window rests). To cover the kink (the small gap between the architrave and the reveal), add 5mm to this measurement. This final length will allow your bottom architrave to touch window sills perfectly.
Step 2: Separating and Sewing
Just like the corner architraves, the angled ends should be used for the clean corner. Using your mitre saw, cut a 45-degree angle at one end of the architrave. Take time to cut the mirror angle on the other ends by 45 degrees to get a good fit.
Step 3: Fencing and Installing Nailing
Holding the architrave upright with care, lift it and place it under the window reveal. Make sure that it is situated about 2.5mm below the reveal edge, providing a slight shadow line. Once you have placed the picture to your satisfaction, drive in nails at an angle to secure it to the wall.
How To Install Side Architraves?
Measure the distance from the top and bottom architraves to decide the side architraves’ length, apply PVA glue, and fasten them with nails to create the look.
Step 1: Sizing and Cutting
Similar to the others, the side architraves should be cut at a 45-degree angle on each end with your mitre saw. Make strong and durable joints by applying glue to the angled corners of the side architraves that will connect the top and bottom frames.
Step 2: Attaching the Sides
Apply PVA glue to the corners of the side architraves and insert them in between the top and bottom architraves to give a neat appearance. Secure them in place with nails so that they won’t move.
Conclusion
It cannot be denied that architraves play important roles in architectural design bringing about aesthetic appeal and functional benefits. By following the instruction protocol provided above, you can achieve a beautiful look in your space and prolong its service life. Whether they are for the framing of doorways, windows, and other openings, architraves represent one of the most popular and versatile choices for interior design projects.
Anyone wishing to improve the look and feel of their living or working environment has to understand what architrave is and how to install it. By utilizing suitable tools and supplies, as well as meticulous measurement and cutting, you can achieve polished outcomes that enhance the overall appearance of your house or structure.
YOU MIGHT ALSO BE INTERESTED IN