How to Fix an Oven Not Heating?
Troubleshooting Your Oven: A Comprehensive Guide to Heating Element Issues
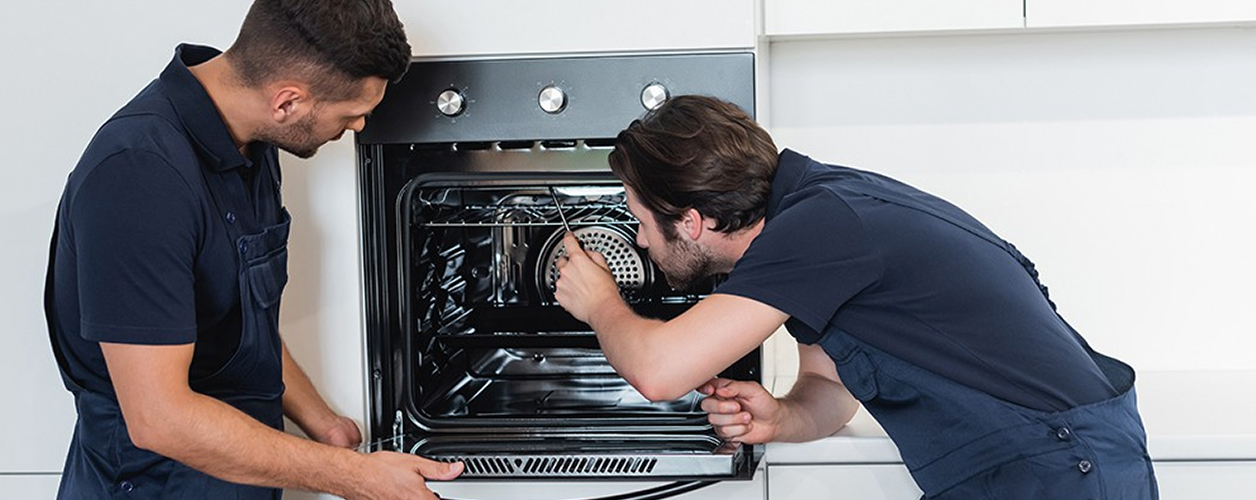
If your oven won't heat up, this guide offers DIY solutions, including the option to replace the coil in the oven or the oven heating element replacement as a last resort. Whether you're dealing with a gas oven not heating or issues related to the stove heating element, timely repairs are crucial. Empower yourself with our expert tips for addressing the heating element on the oven or replacing the element heater oven, and ensure your heating oven element functions properly. If your oven is not heating up even after troubleshooting, consider seeking professional assistance.
Note: The first three points focus on gas oven repair. If you have an electric oven, skip to point four.
1. Inspect the Igniter
For gas ovens, the igniter plays a crucial role in heating. It assists in drawing electrical current through the safety valve, allowing gas to ignite. If your oven isn’t heating up, you may need to repair or replace the igniter.
To check the igniter:
Locate the Igniter:
- Open the oven door to find the igniter, which is usually situated near the burner assembly at the bottom of the oven.
Turn on the Oven:
- Set the oven to a baking mode (such as Bake) and observe the igniter. It should glow bright orange or yellow within a minute of being turned on.
Observe Ignition:
- If the igniter glows but the gas does not ignite within one minute, this indicates a potential issue with either the igniter or the safety valve. In this case, the igniter and/or safety valve may need replacing.
Turn Off the Gas:
- If the igniter does not glow at all, switch off the gas supply to the oven for safety.
Check for Continuity:
- Using a multimeter, set it to the resistance setting (ohms). Disconnect the igniter’s wiring harness and place the multimeter probes on the igniter terminals. If the multimeter reads “0” or a very low number, the igniter is functioning. If it reads “infinity,” the igniter lacks continuity and needs replacement.
Replace if Necessary:
- If the igniter fails the continuity test, replace it with a new one. Ensure you follow the manufacturer's instructions for installation.
Test the Oven:
- Once the new igniter is installed, turn on the oven to check if it now heats up correctly. If it still does not heat, proceed to the next step.
2. Examine the Spark Electrode
The spark electrode is responsible for igniting the gas in the bake or broil burner. If it’s broken or malfunctioning, your oven will not heat.
To inspect the spark electrode:
Switch Off the Oven:
- Turn off the gas supply and disconnect power to your oven for safety.
Locate the Spark Electrode:
- Find the spark electrode, which is usually positioned near the burner. It typically looks like a small metal rod.
Inspect for Damage:
- Check the porcelain housing and the tip of the electrode for any visible cracks or damage. If you find any, you will need to replace the electrode.
Check Continuity:
- If there’s no visible damage, remove the spark electrode from its mount. Use a multimeter set to the ohms setting. Connect the probes to the terminals of the electrode. If the multimeter shows continuity, the electrode is functioning correctly. If it does not, it needs to be replaced.
Replace if Necessary:
- Install a new spark electrode if the old one fails the continuity test. Make sure to securely attach it to its mounting point.
Test the Oven:
- After replacing the spark electrode, restore power to the oven and test it to see if it now heats properly. If it still isn’t heating up, move on to the next step.
3. Check the Safety Valve
The safety valve is critical for a gas oven that isn’t heating up, as it controls the flow of gas to the burner.
To check the safety valve:
Turn Off Gas and Power:
- Ensure the gas supply to the oven is turned off, and disconnect the power supply for safety.
Locate the Safety Valve:
- The safety valve is typically located at the back of the oven near the gas supply line. Refer to your oven’s manual if you have trouble finding it.
Remove the Safety Valve:
- Disconnect any wiring attached to the safety valve and carefully remove it from its mounting. Be cautious of any gas lines attached to it.
Test for Continuity:
- Use a multimeter set to the ohms setting. Attach the probes to the terminals of the safety valve. If the multimeter shows continuity, the valve is functional. If it shows no continuity, you will need to replace the valve.
Replace if Necessary:
- If the valve is faulty, install a new safety valve. Ensure all connections are secure and that there are no gas leaks.
Test the Oven:
- Once everything is reassembled, restore gas and power to the oven and check if it is now heating. If not, proceed to the next step.
4. Inspect the Bake Element
For electric ovens, a faulty bake element is often the culprit when the oven is not heating.
To check the bake element:
Turn On the Oven:
- Set your oven to bake and allow it to run for a few minutes. Observe the bake element, which is usually located at the bottom of the oven.
Look for Glowing:
- The bake element should glow bright red. If it doesn’t, this indicates a problem.
Inspect for Damage:
- Turn off the oven and allow it to cool. Carefully inspect the bake element for any visible damage, such as blisters, holes, or burns. If you see any damage, it will need replacing.
Check for Continuity:
- If the bake element appears intact, use a multimeter to check for continuity. Disconnect the bake element from its wiring harness and place the multimeter probes on the terminals. If the multimeter reads zero or a low resistance value, the element is functioning. If it reads “infinity,” the element is defective and must be replaced.
Replace if Necessary:
- If the element fails the continuity test, install a new bake element by following the manufacturer's instructions for your specific oven model.
Test the Oven:
- After replacing the bake element, turn on the oven to check if it now heats properly. If it still doesn’t heat up, continue to the next step.
5. Check the Power Supply
Electric ovens require a proper power supply to function correctly. If the voltage is incorrect, the oven will not heat up.
To check the power supply:
Test the Outlet:
- If possible, plug the oven into a different outlet to rule out any issues with the original outlet.
Use a Multimeter:
- Set the multimeter to AC voltage and insert the probes into the outlet. For electric ovens, you should see a reading of around 240 volts. If it’s lower than this, the outlet may be faulty.
Replace the Outlet:
- If the outlet is not supplying the correct voltage, you will need to replace it. Ensure that the power is turned off at the circuit breaker before replacing the outlet.
Test Again:
- After replacing the outlet, plug the oven back in and check if it is heating properly. If the issue persists, proceed to the next step.
6. Examine the Thermal Fuse
The thermal fuse is a safety component designed to prevent overheating in your oven. If it trips or blows, your oven may stop functioning altogether.
To examine the thermal fuse:
Disconnect Power:
- Turn off the power supply to your oven for safety.
Locate the Thermal Fuse:
- Refer to your oven’s manual to find the thermal fuse. It’s often located on the back panel or near the control board.
Remove the Fuse:
- Carefully disconnect and remove the thermal fuse from its mounting. Be cautious, as there may be small wires attached.
Test for Continuity:
- Use a multimeter to check the thermal fuse for continuity. If the multimeter indicates no continuity, the fuse is blown and needs replacing.
Replace if Necessary:
- Install a new thermal fuse if the old one is faulty. Ensure it is securely connected.
Test the Oven:
- Restore power to the oven and check if it is now heating. If it still isn’t heating up, continue to the next step.
7. Inspect the Wires
A common issue for an oven that isn’t heating is damaged wiring. If any wires are burnt out or frayed, they will need to be repaired or replaced.
To examine the wires:
Check Each Wire:
- Carefully inspect all wires connected to the heating element and igniter for any signs of damage, such as burns or fraying. Pay special attention to areas where the wires may be near hot surfaces.
Repair or Replace:
- If you find any damaged wires, you will need to replace or repair them. For small frays, electrical tape may suffice, but for significant damage, consider replacing the entire wire.
Secure Connections:
- After making repairs, ensure all connections are secure. Loose connections can also lead to heating issues.
Test the Oven:
- After addressing any wiring issues, turn on the oven to see if it heats correctly.
Conclusion
If you have gone through all these steps and your oven is still not heating up, it may be time to call a professional appliance repair technician. Regular maintenance and care can help prolong the life of your oven and prevent heating issues in the future. Always refer to your oven’s manual for specific troubleshooting and repair advice.


