Get free quotes within minutes
Basics of Dishwasher Installation
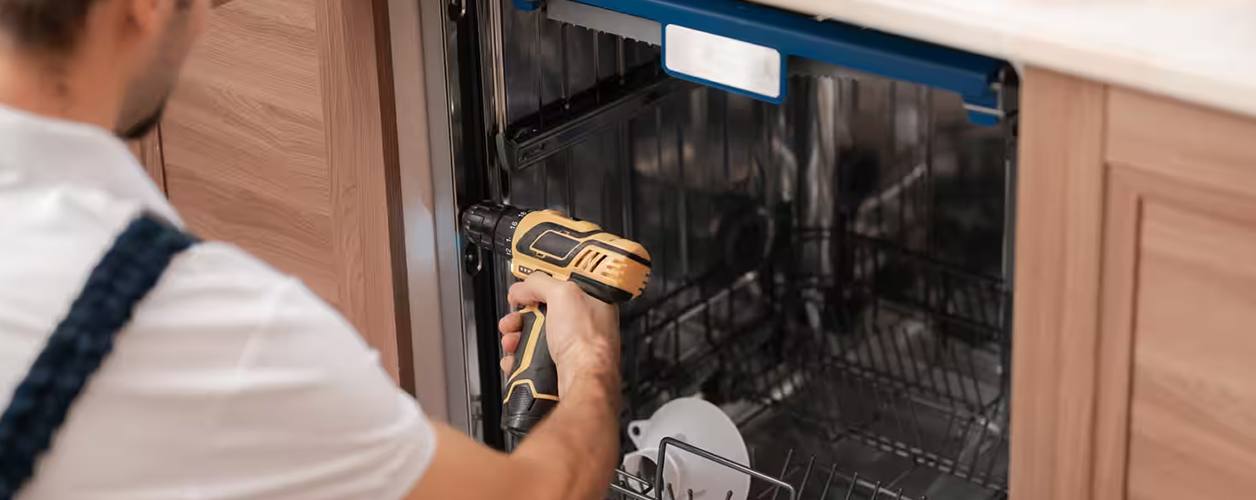
Upgrade your kitchen effortlessly with a new dishwasher using our step-by-step guide to installation. From choosing the right dishwasher to connecting water, power, and drain hoses, we've got you covered. Safely remove the old dishwasher, position and secure the new one, and run a test cycle for optimal performance. Follow our expert tips for a smoother installation and enjoy the convenience of your new kitchen companion. If needed, professional installation services are also available for a stress-free experience.

Ready to elevate your kitchen with a new dishwasher? Don't let installation overwhelm you! Whether upgrading or replacing, our step-by-step guide ensures a smooth setup for your new appliance. Before diving in, assess if your current dishwasher truly needs replacing. Clean it thoroughly, check loading habits, and run a few cycles. If still unsatisfied, it might be time for an upgrade.
How To Install A Dishwasher?
Now, let's break down everything you need to know for a successful dishwasher installation.
Choose the Right Dishwasher
Since a dishwasher is an investment, take your time picking the one that suits your needs. Consider features like wine glass holders, extra flatware racks, noise levels, cycle options, and efficiency. Don't forget the finish – make it a choice that complements your kitchen. Take your time with this decision; the right dishwasher can be your kitchen's best friend.
Remove the Old Dishwasher (if applicable)
First things first, prioritize safety. Turn off the electricity and water supply at the circuit breaker and under the sink. Unscrew the front access panel at the bottom of your dishwasher. Disconnect the wiring, water supply, and drain hose. Carefully detach the dishwasher from its anchor points and adjust the levelling legs. Put down some cardboard or a blanket to protect your floor before giving it a gentle tug.
Connect Water, Power, and Drain Hose
For those starting from scratch, turn off electricity and water. Position your new dishwasher, remove the front access panel, and connect the essential elements:
- Electrical: Identify the wire connection housing, thread the power cord, and connect wires by colour. Plug it in under the sink.
- Water Supply: Connect the 90-degree fitting and water supply line according to instructions. Don't forget to read the manufacturer's guidance on compression fittings and joint compounds.
- Drain Hose: Connect the drain hose and follow instructions to prevent dirty water from getting back into the dishwasher.
Get the Dishwasher in Place
Carefully tip the dishwasher upright and slide it into the counter space. Have a helper manage the cords and hoses to avoid snags. Feed any excess behind the dishwasher once it's in position.
Test It Out
Before getting into the nitty-gritty of perfect placement, run a full cycle. Ensure water and power are back on. If it turns on, great! If not, consider calling in a local electrician. Check for leaks during and after the cycle; tighten connections if needed.
Level and Anchor It
Once you're confident it's working smoothly, grab some pliers. Adjust the legs for a flush countertop and use brackets to anchor it to the cabinet. Put the front access panel back on.
Monitor Your Work
Nice job! Keep an eye out for leaks. If things aren't tightening up, call a plumber before causing damage. Once your dishwasher is performing as expected, let it tackle more than just dishes.
Extra Tips for a Smoother Installation
Unbox the new dishwasher near the installation spot, using cardboard from the box to protect your floor. Tilt the unit on its back for easy access during plumbing and electrical connections.
Recap of the Professional Installation Steps
For a quick recap, let's break down the professional installation steps in simpler terms:
- Measure your cabinet opening dimensions.
- If you have an old dishwasher, remove it by turning off the power and water, disconnecting all the connections, and gently pulling it out.
- Prepare the new dishwasher by unpacking it, tilting it on its back, and connecting the necessary wires and hoses.
- Attach the water supply by connecting the fitting and hose, adjusting for a secure fit.
- Level the dishwasher by adjusting the rear legs to match your cabinet height.
- Move the dishwasher into place with the help of another person, securing the cords and hoses.
- Secure the dishwasher to the cabinets and countertop using the provided brackets.
- Connect the water supply, drain, and power lines following the product manual.
- Run a test cycle to ensure everything is working correctly.
- Adjust the levelling legs, tighten the locknuts, and confirm the dishwasher's placement.
- Use brackets to secure the unit under the countertop and adjacent cabinets.
- Replace the front access panel.
For those comfortable with plumbing and electrical work, dishwasher installation is doable. If it seems overwhelming, consider professional services. With patience and our step-by-step guide, you'll have your dishwasher running smoothly in no time. Happy dishwashing!
Capital Cities
- Appliance Installers Services in Melbourne
- Appliance Installers Services in Brisbane
- Appliance Installers Services in Sydney
- Appliance Installers Services in Adelaide
- Appliance Installers Services in Perth
- Appliance Installers Services in Canberra
- Appliance Installers Services in Hobart
- Appliance Installers Services in Darwin


