Cooktop Installation Tips: A Comprehensive Guide
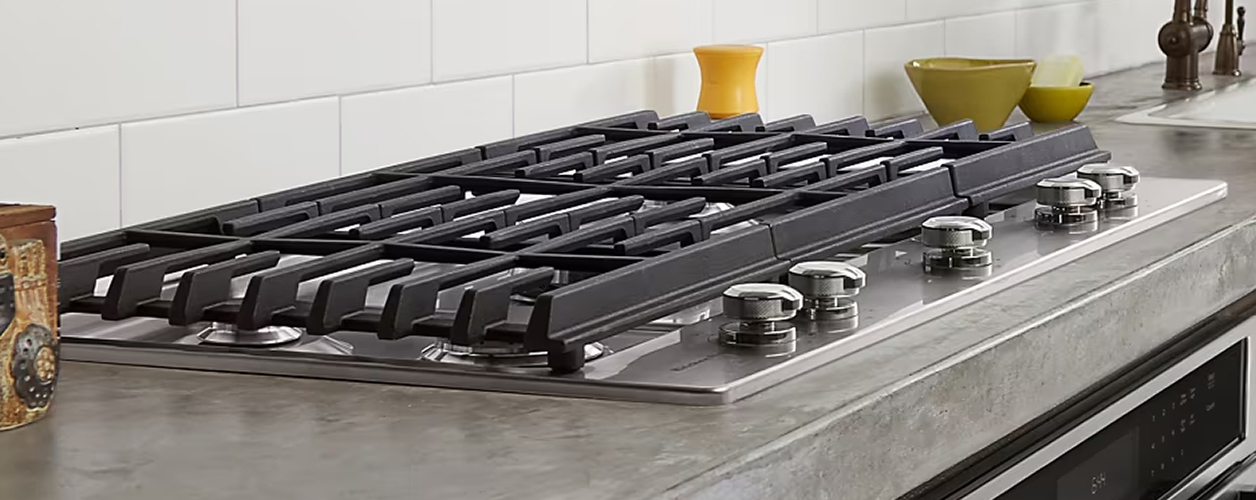
Installing a cooktop can be a rewarding endeavour, adding both functionality and aesthetics to your kitchen. However, a successful installation requires careful planning and execution. In this comprehensive guide, we'll cover the essential aspects of cooktop installation to ensure a seamless and safe process.
Choose the Right Cooktop
Before diving into the installation process, it's crucial to select the right cooktop for your kitchen. Consider factors such as fuel type (gas, electric, induction), size, and features. Ensure that your kitchen space and existing infrastructure can accommodate the chosen cooktop.
Prepare the Workspace
Clear the installation area and make sure you have adequate space to work. Remove any items that might hinder the installation process and ensure proper ventilation in the kitchen. If you're replacing an existing cooktop, disconnect the power or gas supply.
Check Local Regulations
Before you begin the installation, familiarize yourself with local building codes and regulations. Some areas may require professional installation for gas cooktops or specific safety measures. Adhering to local guidelines ensures both safety and compliance.
Gather Necessary Tools and Materials
Collect all the tools and materials required for the installation. This may include a screwdriver, wrench, pipe thread sealant, electrical connectors, and any specific components provided by the cooktop manufacturer. Read the installation manual thoroughly for a comprehensive list.
Gas Cooktop Installation
For gas cooktops, the installation involves connecting to the gas supply. Ensure that you have a flexible gas line and the appropriate fittings. Apply pipe thread sealant to prevent gas leaks. Securely connect the gas line, following the manufacturer's instructions. Test for leaks using a soapy water solution.
Electric Cooktop Installation
Electric cooktops require a dedicated electrical circuit. Confirm that your kitchen has the necessary electrical capacity and install a circuit breaker if needed. Connect the cooktop to the power supply, following the wiring diagram in the manual. Consider hiring a licensed electrician for this step if you're not experienced in electrical work.
Induction Cooktop Installation
Induction cooktops typically require a dedicated electrical circuit as well. Additionally, these cooktops generate magnetic fields, so ensure compatibility with your cookware. Follow the manufacturer's guidelines for installation, which may include specific clearance requirements and proper ventilation.
Secure the Cooktop
Once the cooktop is connected to the gas or power supply, secure it in place. This may involve tightening screws or brackets provided by the manufacturer. Check the cooktop's alignment and level it to ensure even cooking.
Seal and Insulate
For gas cooktops, use a gas-rated sealant to seal the connections and prevent gas leaks. Additionally, insulate any gaps around the cooktop to enhance energy efficiency and maintain a clean appearance.
Test the Cooktop
Before declaring the installation complete, test the cooktop's functionality. Ignite each burner on a gas cooktop and verify that the electric or induction elements heat up properly. Confirm that all controls and safety features are working as intended.
Clean-Up and Final Touches
Once the cooktop is successfully installed and tested, clean up the workspace. Dispose of packaging materials and ensure that the surrounding area is spotless. Add any finishing touches, such as trim or silicone sealant, to enhance the aesthetics and longevity of the installation.
Conclusion
Master cooktop installation with attention to detail, safety, and a systematic approach. Follow our guide for confident installation, enhancing your kitchen's functionality and creating a safe cooking environment.