Get free quotes within minutes
Choosing the Right Freezer: A Comprehensive Installation Guide
Become a freezer installation pro with our comprehensive guide! Whether a first-time buyer or an experienced owner, our step-by-step instructions ensure a hassle-free setup. Learn essential features when choosing a freezer, from storage capacity to energy efficiency. Unbox your new companion, find the perfect spot, set up water dispensers, and follow tips for a smooth installation.

Own a new fridge freezer or considering a purchase? Finding the installation process challenging? Fear not! Our in-depth guide ensures clarity and simplicity for every step. Whether a first-time buyer or in need of a quick refresher, we've got you covered.
Choosing Your Ideal Freezer: Key Features to Consider
Shopping for a new deep freezer? Ensure you make the right choice by focusing on these essential features:
- Storage Capacity: Vital for large families or those with a steady surplus of frozen goods.
- Energy Efficiency: Opt for Energy Star options to reduce overall energy costs.
- Automatic Defrost: Say goodbye to manual defrosting with this convenient feature.
- Locking Mechanism: Keep your food secure with a key-locked door or lid.
- Interior Organization: Shelves, storage bins, and drawers for easy access and organization.
- Interior Lighting: Proper illumination for effortless identification of frozen items.
- Temperature Alarm: Stay informed about temperature changes for a consistently proper freezing environment.
- Fast Freeze: Rapidly cool large quantities of food with the push of a button.
- Garage-Ready: Opt for freezers built to maintain temperatures in non-controlled environments.
- Style and Design: Match your new freezer seamlessly with the rest of your kitchen appliances.
How To Install a Freezer?
Unboxing Your Cool Companion
Let's start at the beginning. As your shiny new fridge freezer arrives, armed with a cutting knife or a trusty pair of scissors, liberate it from its protective packaging. Say goodbye to the cardboard box, styrofoam, and any nylon wraps. Remember to peel off the sticky tape inside; it served its purpose during transport but is now obsolete.
Plug and Play
Next up, locate the plug neatly stowed at the back of the fridge. Unwrap it, and if the cord is on the longer side, consider taping it to the side of the fridge to avoid any potential tripping hazards. Your fridge is now ready to be plugged into the socket.
Finding the Perfect Spot
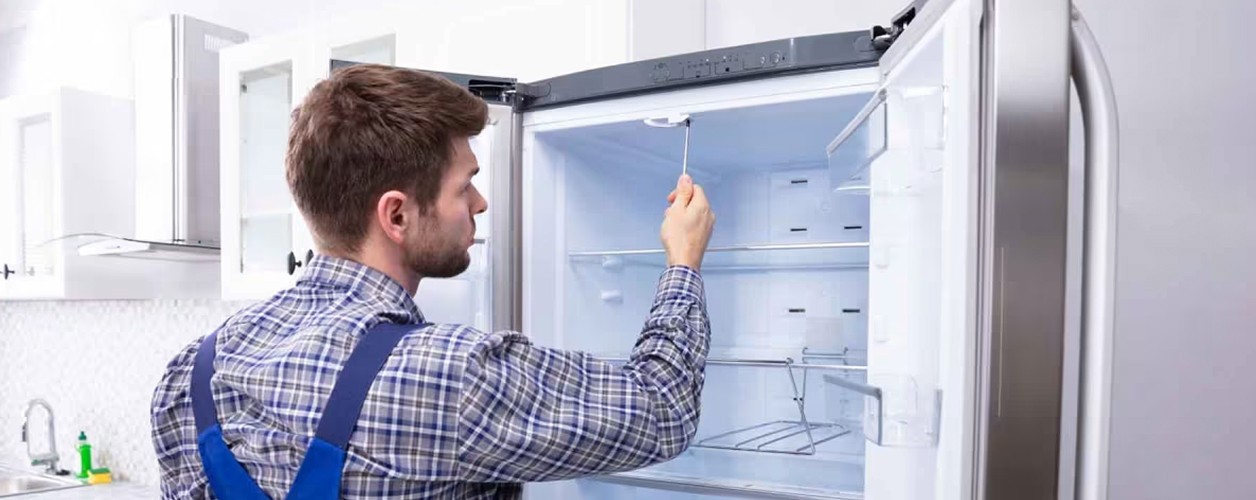
With the help of a trusty assistant, carefully move the fridge to its designated spot. If stairs are involved, adhere to proper lifting techniques or leave it to the delivery team for safety reasons. Once in place, it's time to balance the feet. Utilize a flat blade screwdriver to adjust them for a level position, ensuring the front is slightly elevated compared to the rear.
Water Dispenser Setup
For those with a fancy water dispenser, the time has come to quench their thirst. Locate the reservoir behind the meat pan in the refrigerator compartment and fill it with water. This step is crucial before expecting chilled water to flow through the door.
Installation Dos and Don'ts
Before the grand plug-in, make sure all packaging has bid farewell. If your fridge is still encased in a cardboard box, cut along the perforated line for swift access. Keep an eye out for condensation at the back of your old fridge during the removal process, and have a trusty towel ready. While moving the new fridge, avoid laying it flat due to the oils in the compressor unit.
Powering Up and Settling Down
Before manoeuvring the fridge into its final resting place, check that it's plugged in, but the socket is switched off. Follow the instruction manual for the recommended settling time, typically around 12 hours. Once settled, switch it on at the mains. Adjust the front feet if necessary, using the user guide as your trusted advisor.
Connecting the Dots (and Hoses)
For those with water dispensers, there might be a need to install a filter and inlet hose. Turn to your user guide for specific instructions on connecting the inline external water filter or installing an internal filter.
Freezer Installation Tips
Now that we've covered the basics, let's explore some indispensable tips for a seamless appliance installation experience.
Levelling for Efficiency
Take a moment to adjust the feet for a balanced fridge. Achieving a slight tilt toward the front enhances efficiency. The user guide holds the key to precise instructions.
Tame the Cord Chaos
Neatly tape the power cord to the side, ensuring a tidy look and eliminating tripping hazards. This small act not only enhances safety but also adds a touch of organization to the space around your fridge.
Prioritize Safety in Movement
Moving a hefty appliance requires caution. Always adhere to proper lifting techniques, and if stairs are involved, leave the task to the experts. Safety should be your top priority.
Check for Maximum Tilt Limit
Refer to your instruction book for the maximum tilt limit. Exceeding this limit during transportation or installation can harm the compressor unit, so play it safe.
Final Words
Congratulations! With these steps and tips, you've successfully installed your new fridge freezer. Now, enjoy the convenience of your freshly installed appliance. For specific queries or concerns, consult your user manual or reach out to the manufacturer's support.
Capital Cities
- Appliance Installers Services in Melbourne
- Appliance Installers Services in Brisbane
- Appliance Installers Services in Sydney
- Appliance Installers Services in Adelaide
- Appliance Installers Services in Perth
- Appliance Installers Services in Canberra
- Appliance Installers Services in Hobart
- Appliance Installers Services in Darwin


